Uxn is an esoteric stack-machine with 32 bit instructions. It exists someplace at the intersection of a GameBoy, 6502 ASM, an Apple II, Forth, RetroForth, the z80, a Sinclair ZX Spectrum, and “what if Nausicaä from Studio Ghibli’s Nausicaä of the Valley of the Wind used a computer?” It is tiny, unlike most anything else around these days, and, once you wrap your head around it, pretty fun.
I won’t go into how to develop for it here (mostly because I’m not heaps good at that, not yet) but will walk you though how to get it running under a relatively recent release of macOS.
For more info on how to use it and develop programs for it see:
Assumptions
I’m assuming that you, at a minimum know how to find and launch the terminal application on macOS. Opening Launchpad or Spotlight and typing “Terminal” should do the trick. Beyond being able to start the terminal application this assumes no prior knowledge of the command line nor Unix.
To run a Uxn rom you’ll need a Uxn emulator. There are a few of these out and about, but I’ll focus on the reference implementation here, Uxnemu.
This implementation has only one dependency, SDL2. SDL2 provides the audio/video bindings, as well as a few other niceties, to the host OS.
If you’ll be building Uxnemu from source you’ll need SDL2 to be installed on your machine. I’ll provide more information about that further on.
Quick and easy
If you don’t want to bother with installing anything other than Uxnemu you can download a build of it that includes SDL2 here.
When this downloads it’ll look sort of like a text file, not a normal application like you are probably used to. Before you run it you’ll need to change permissions on it to make the file executable (able to be run as a program). To do this you’ll have to launch the macOS’ terminal.
Once you’ve launched the terminal, either drag your downloads directory on to the terminal and press return on your keyboard, or type the following (assuming you’ve not changed the location of your system-standard downloads folder),
cd ~/Downloads
Then press retrun on your keyboard.
You’ve navigated to your downloads directory! Next up, we’ll make the freshly downloaded Uxnemu executable. To do this, type the following:
First, ensure that the file is present in the downloads folder:
ls
Then hit return.
You should see a list of all the contents of your downloads directory, including uxnemu. If you don’t see uxnemu you are either in the wrong directory or didn’t download it.
If you need to troubleshoot: check what directory you are in — type pwd and then hit return. This will display the current directory, it should return a string of text that ends in “Downloads.” If you are in the downloads directory and still don’t see uxnemu download it again and check to where it is being saved.
Once in your downloads folder with your fresh copy of uxnemu run the following commands to make it executable:
chmod a+x uxnemu
Hit return!
This command will make uxnemu executable. To test that it worked, run the following,
./uxnemu
Then hit return — you should see output like, usage: uxnemu file.rom. If you do, that means that it worked! You’ve now got yourself a working uxnemu emulator.
Snag a rom and go nuts!
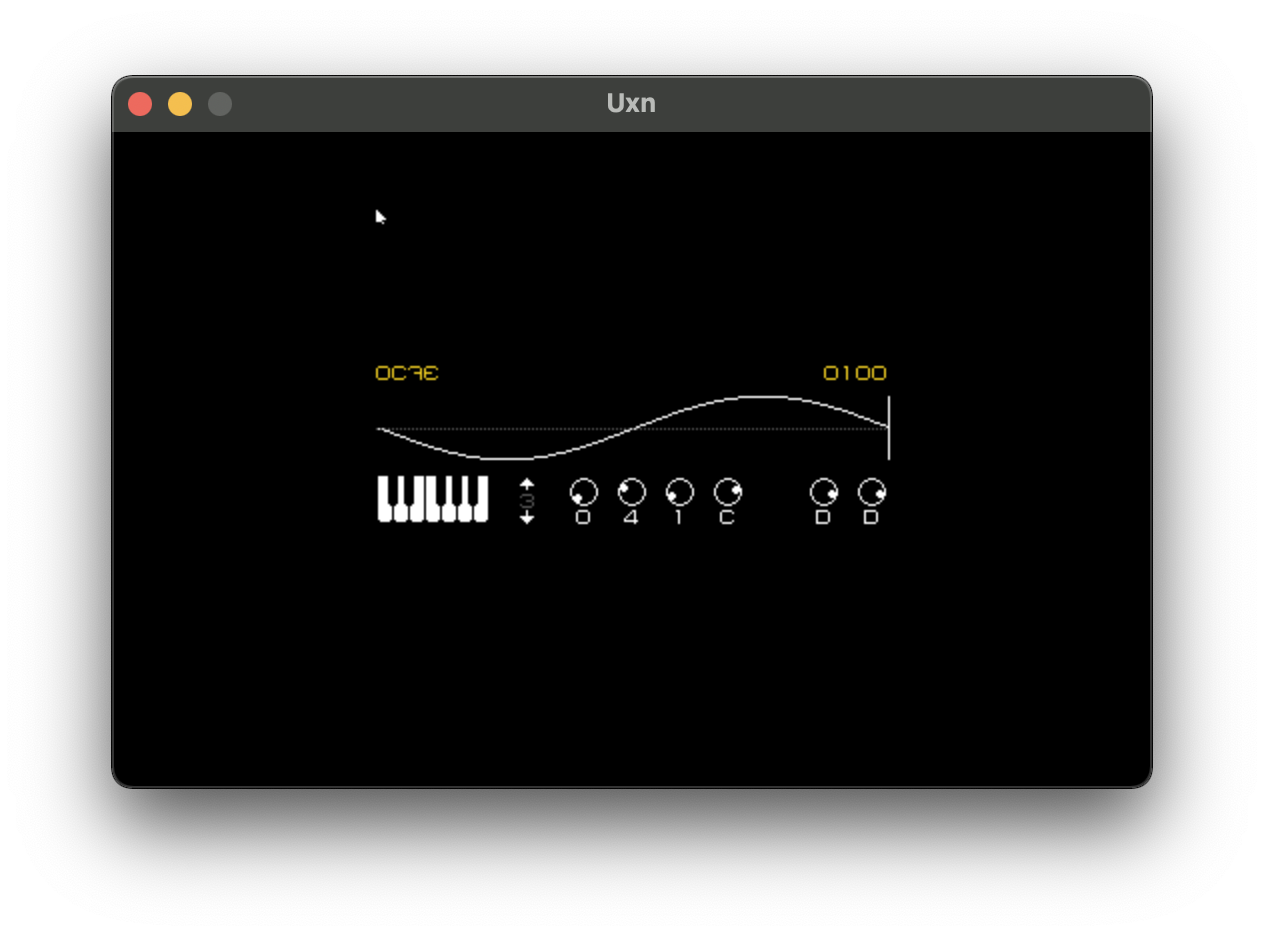
Give it a go, download the piano.rom from here.
Now run,
./uxnemu piano.rom
A new window will open. You should see something along the lines of this!
Slightly more involved
Now, if you wanna get a little deeper into the weeds, you can assemble uxnemu from source. To do that, you’ll need to have some more pieces in place.
Preparing the way
Before we get started ensure that you’ve got all the necessary tools to build unxnemu’s C source. The easiest way to do this is to use macOS’ deeply middling package manager, brew. Before you install it, you’ll need to install the Xcode Command Line Tools (if you haven’t already, or if you haven’t installed the full, GUI, version of Xcode).
Here are directions for how to do that. Or, tl;dr wanna live dangerously xcode-select --install!
If you don’t explicitly needs Xcode, I recommend the command line tools over the full Xcode GUI because Xcode is ginormous, and will devour a computer’s disk-space.
Once you’ve got the Xcode Command Line Tools and brew installed you are almost ready. As mentioned above, Uxn depends on SDL2. We’ll use brew to install that.
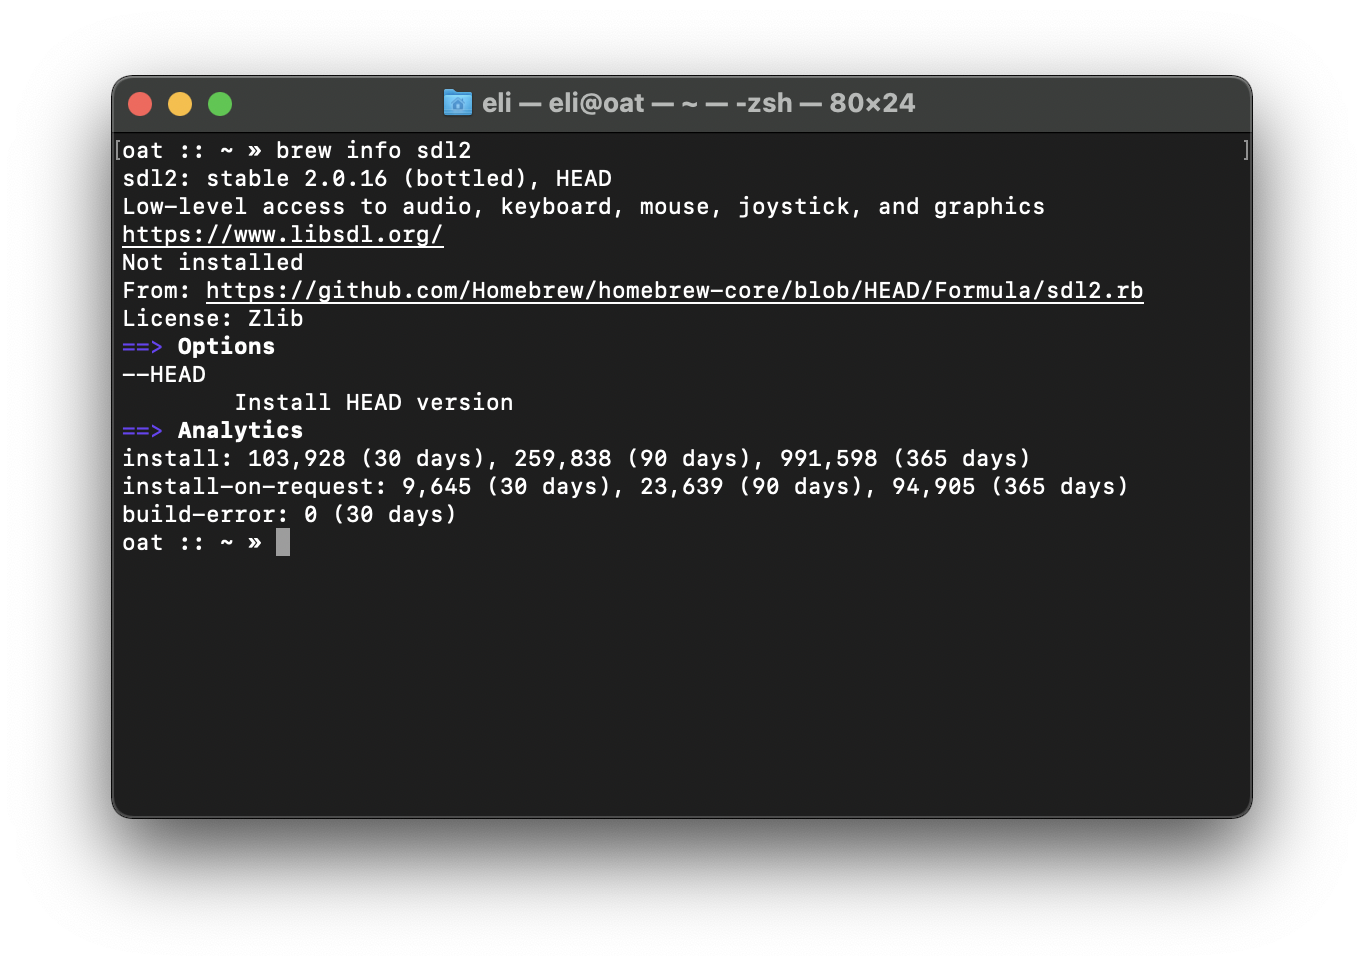
Check that brew is working by looking for SDL2,
brew info sdl2
It’ll output something sort of like this if everything is working to plan,
With that command we ensured that sdl2 is available through brew, but haven’t yet installed anything. Eyes on the prize, you are ready to install sdl2. Do that by running,
brew install sdl2
That will output something along the lines of,
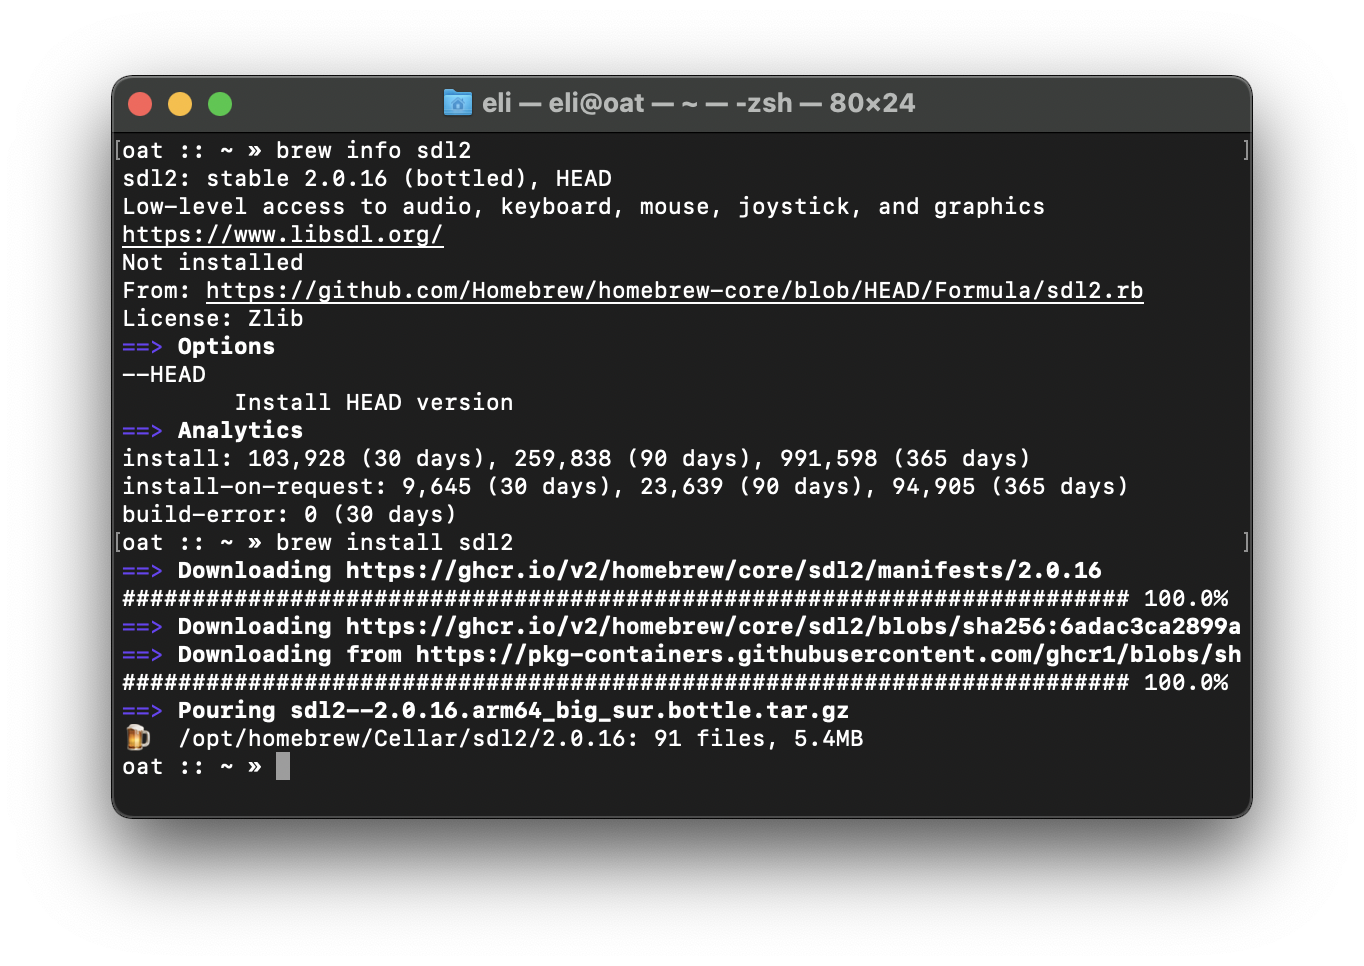
Note that brew can sometimes be bananas slow. Patience is key to this step.
Once brew is done doing its thing, and sdl2 is installed you are ready to start cooking with fire!
Doing the thing
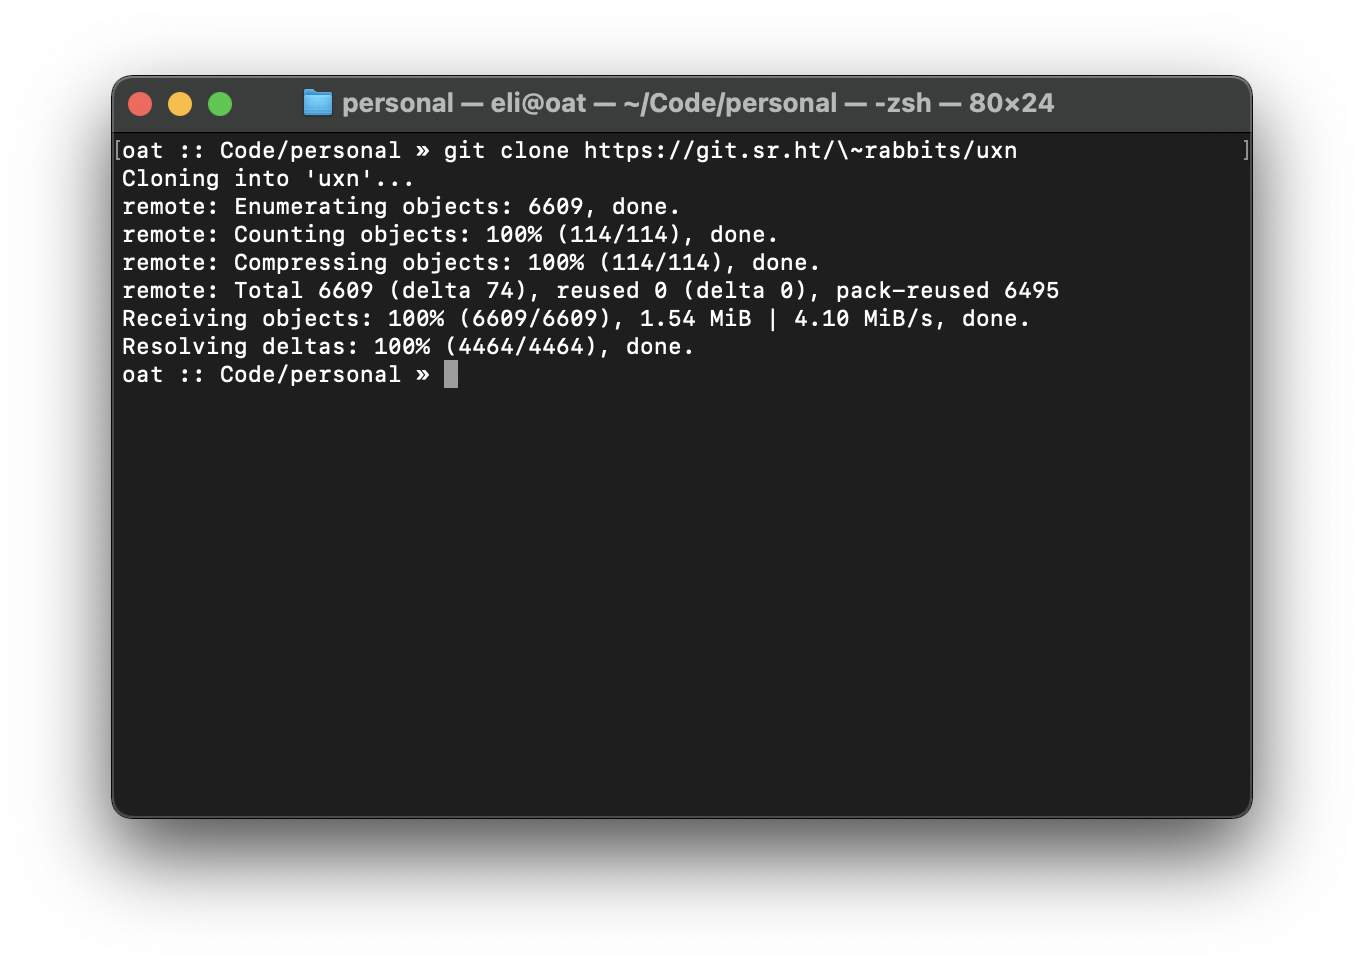
The first step is to obtain the uxn source code. We’ll use git to do that. At the terminal,
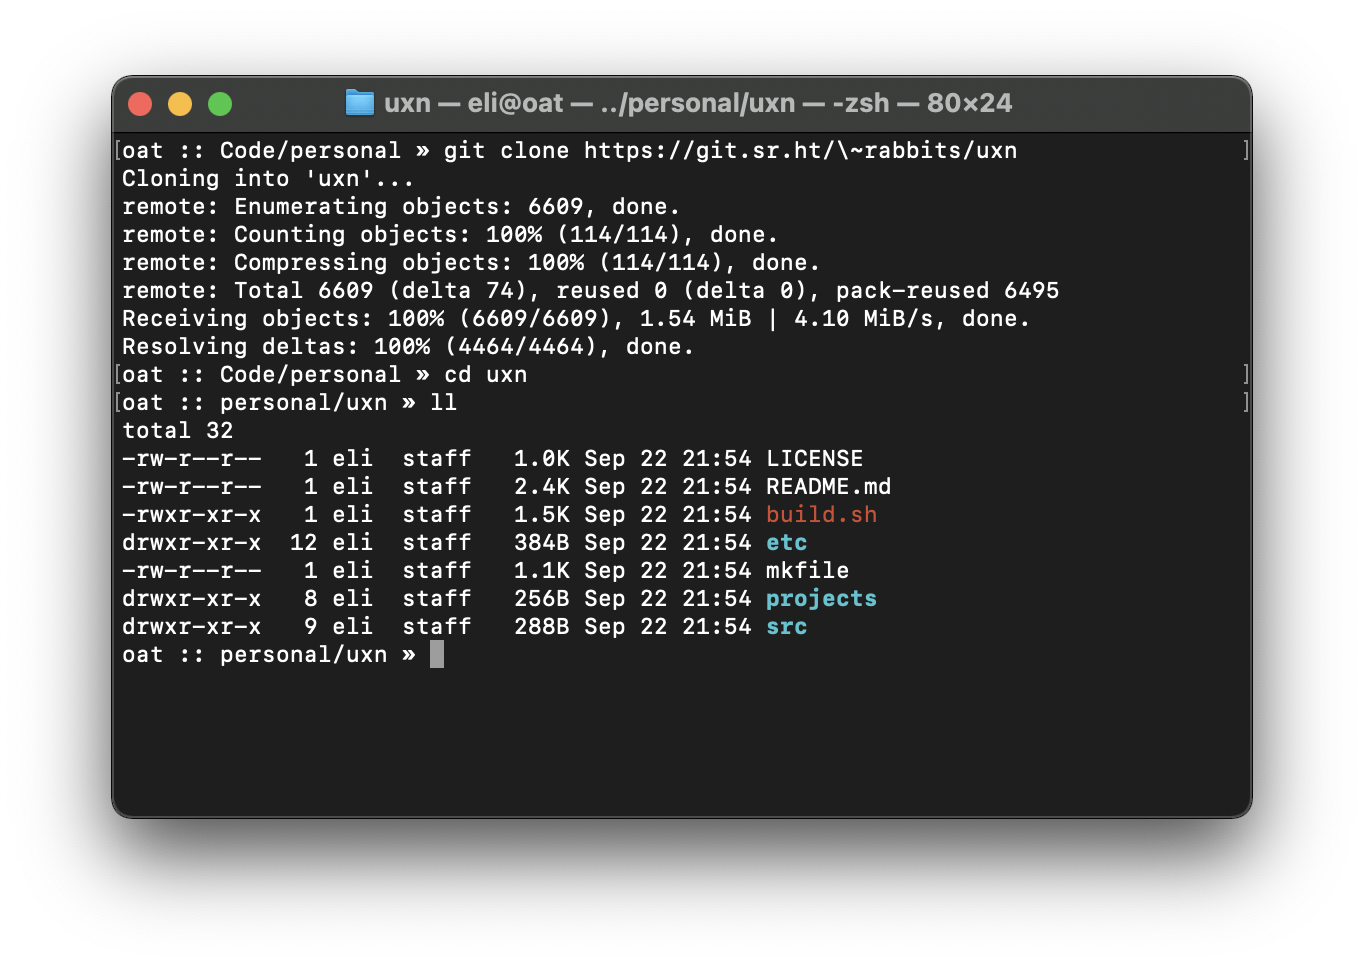
git clone https://git.sr.ht/~rabbits/uxn
Then return.
This will download the uxn project. It’ll look something a bit like this,
Once that has completed, enter the directory you just cloned using git by typing,
cd uxn
Then return — from within that directory, now type,
ls
And then hit return on your keyboard. You’ll see a listing of the directory’s contents, like this
Now we’re reading to do the thing! Uxn comes with a handy script called build.sh. The script is a little program that can build uxnemu and a few other programs for you. To run it,
./build.sh
And return!
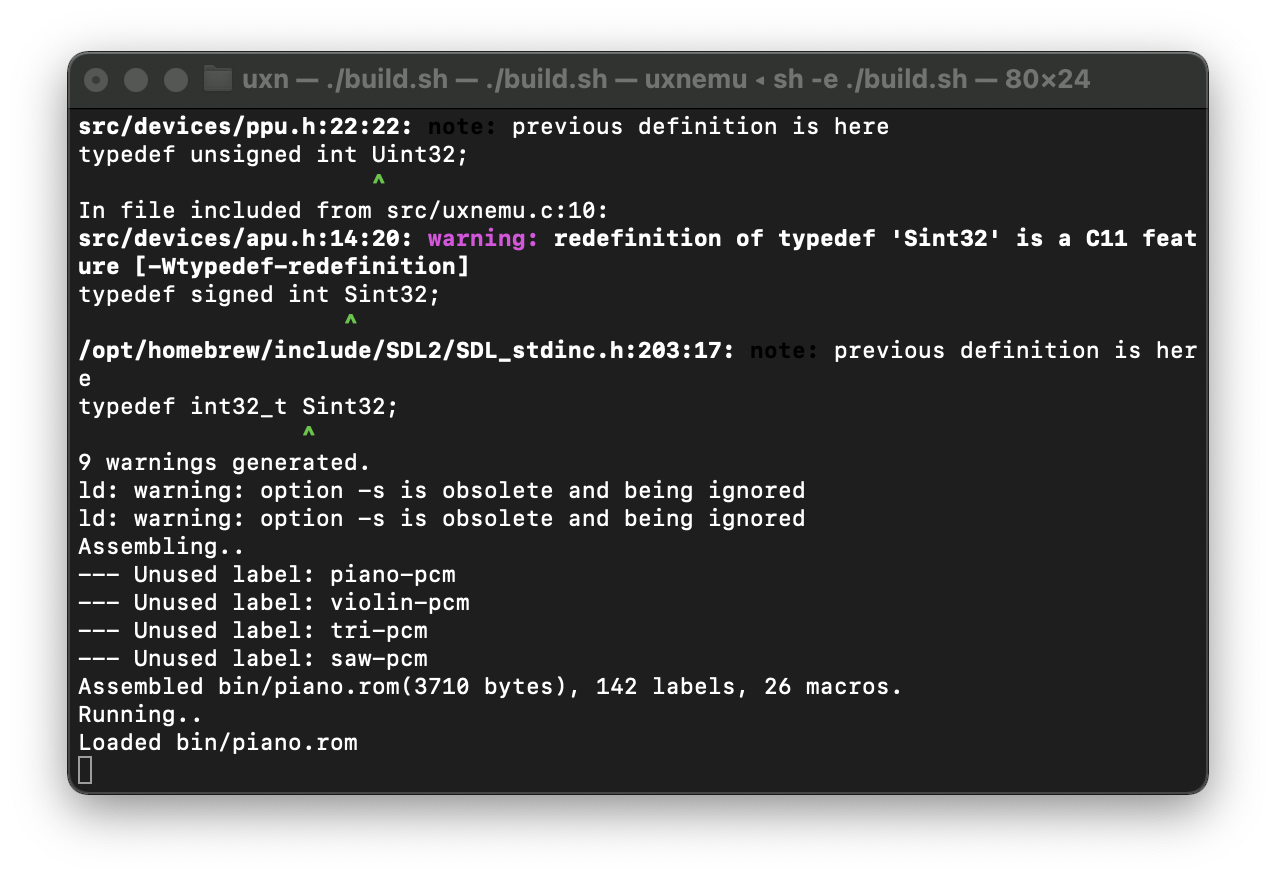
That will run the build script. The build script will build, and then run a default rom, like this!
At this point you should be good to go!
Building from source means that you have the uxnemu as well as the uxnasm.
The uxnemu is an emulator, capable of running assembled Uxn roms.
The uxnasm is an assembler, capable of assembling Uxntal files into roms for the uxnemu to run!
As I learn more about about Uxn I hope to write more about it, in the meantime, check out the great tutorial!

