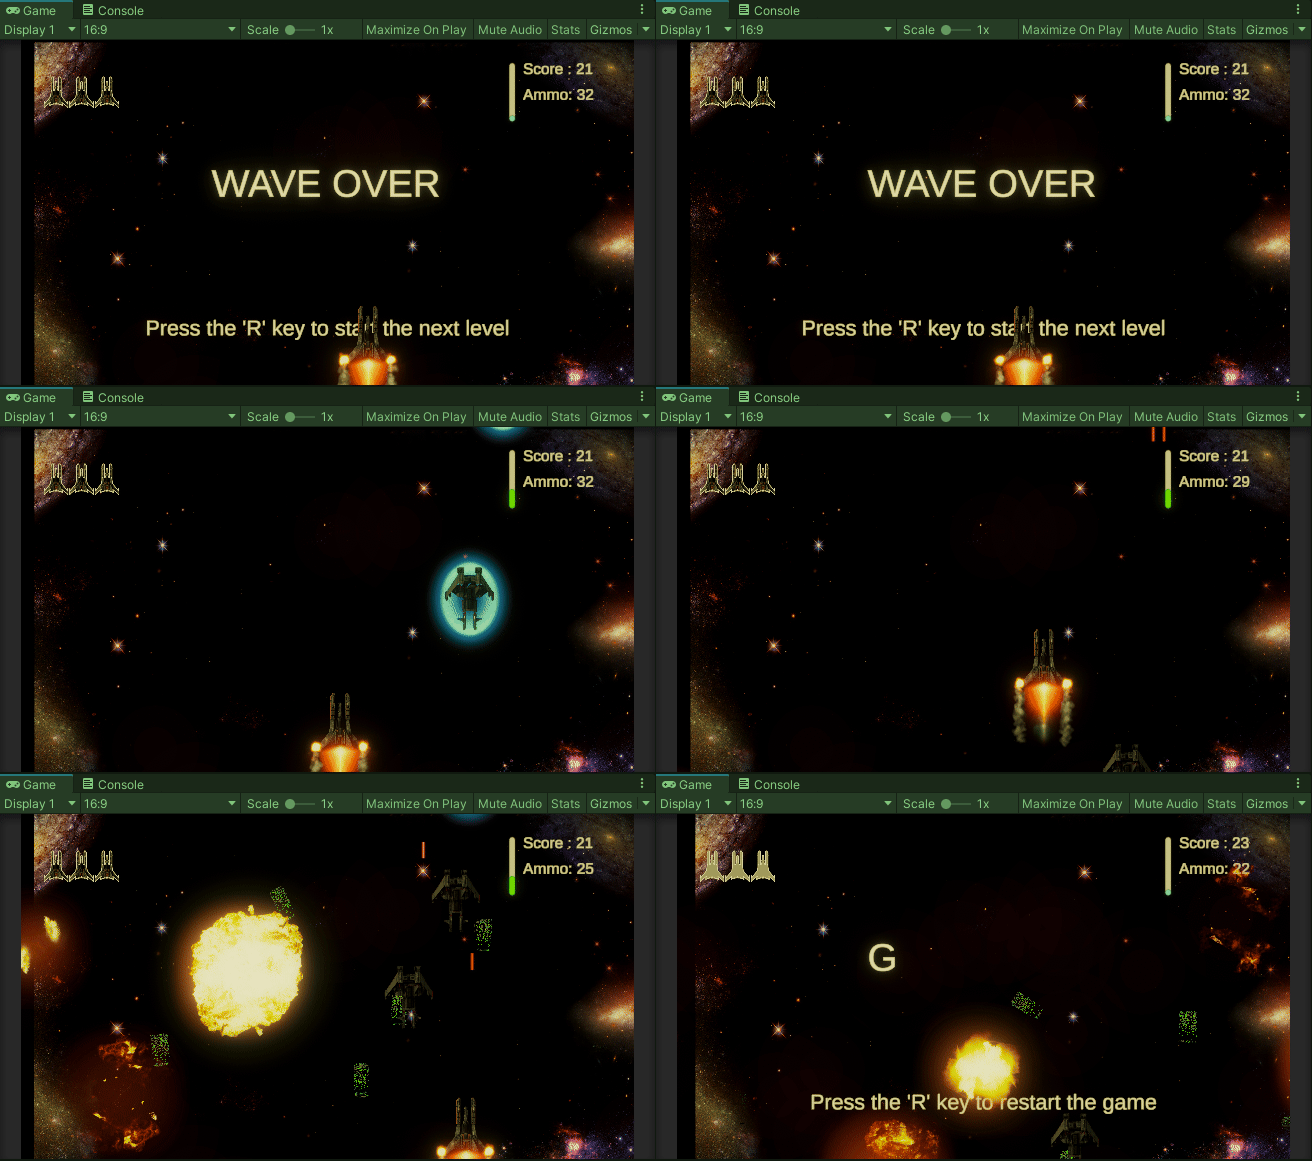
Polish is the bridge between “works” and “feels finished.” Post-processing profiles (Volumes + Profiles in URP) are the fastest, most maintainable way to centralize looks, blend moods, and ship consistent visuals across scenes.
TL;DR
Use URP’s Global Volume for scene-wide looks; Local (Box) Volumes for area-specific mood shifts.
Create a Volume Profile asset → Add Override (Bloom, Color Grading, Vignette, etc.).
Ensure your Camera has post-processing enabled and the Volume layer matches the Camera Culling Mask.
Reuse profiles across scenes; clone when you need variants.
Quick steps (URP)
1. Confirm pipeline
Make sure project uses Universal Render Pipeline (URP). URP contains the Volume/post-processing system built in.
2. Create a Global Volume
Hierarchy → GameObject → Volume → Global Volume (or create an empty GameObject and add Volume component and check Is Global). Name it PP_Global or similar.
3. Create / assign a Volume Profile
In the Volume inspector click New (creates a Volume Profile asset). This asset is your reusable post-processing profile.
4. Add overrides
With the Profile selected click Add Override → Unity(override list) and pick effects you want (Bloom, Color Grading, Vignette, Depth of Field, Film Grain, etc.). Toggle each property and tweak.
5. Enable post-processing on the Camera
Get Abror Shukirlayev’s stories in your inbox
Join Medium for free to get updates from this writer.
Select Main Camera → ensure Post-Processing is enabled (and the camera’s Culling Mask includes the Volume layer). If camera and volume layers don’t match, you’ll see no effect.
6. Local Volumes for context
For localized mood (e.g., cave, underwater), create Box Volume with collider bounds, set Weight/Blend Distance. Use Priority to resolve overlaps.
Example “starter” profile (copy these values and iterate)