Guide to using Qdrant Vector Database for Audio Information Retrieval
Navigating audio datasets with Qdrant


Have you ever found yourself lost in the rhythm of your favorite song, wondering how Spotify knew to recommend it to you? The answer lies in the intricate workings of recommendation engines. These sophisticated systems operate tirelessly behind the scenes, analyzing your listening habits and preferences to curate personalized playlists and song suggestions for a seamless user experience. Their goal? To ensure that every beat, melody, and lyric that reaches your ears resonates with your unique musical taste. A modern approach to this in the new AI era involves vector databases.
Vector Database
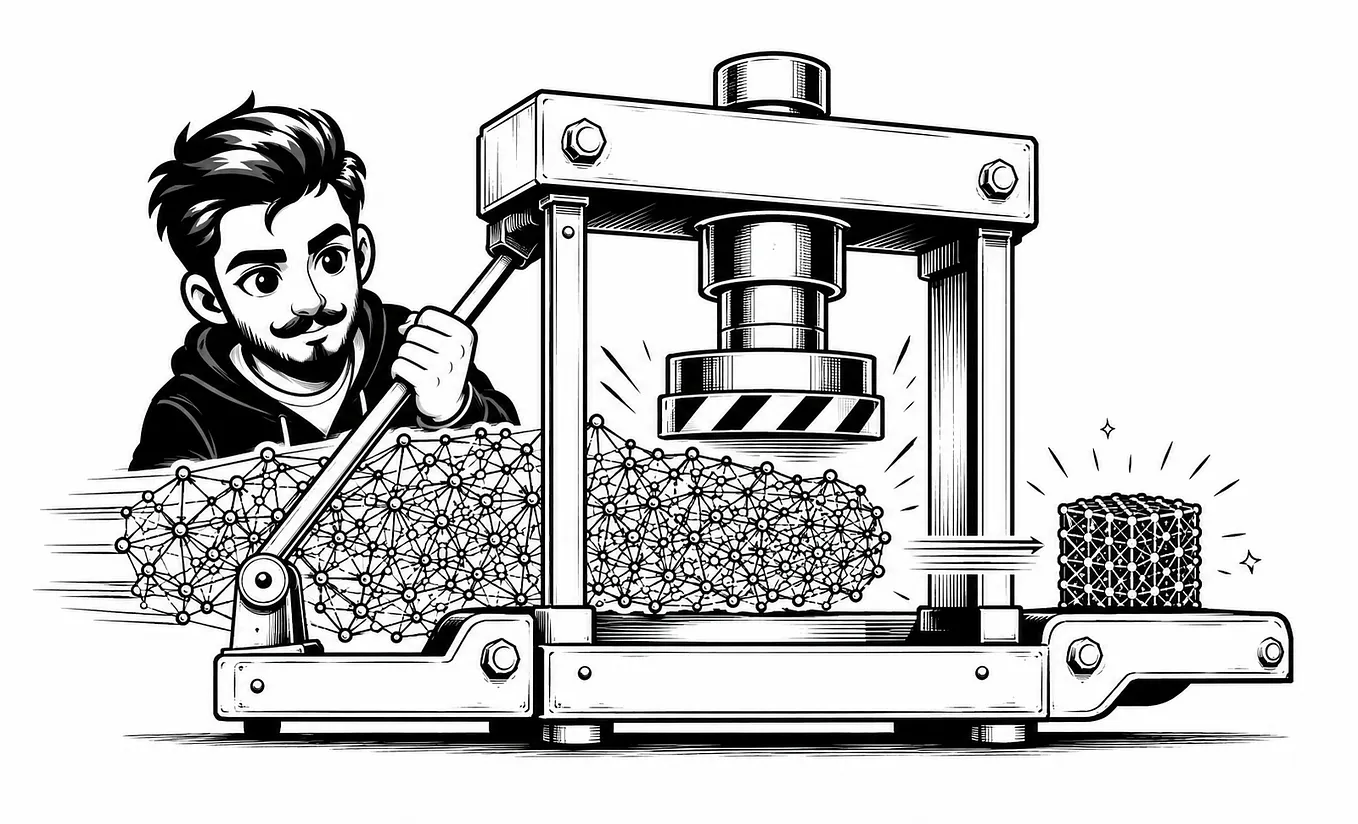
Vector embeddings are a type of representation for objects, such as words or items, in a high-dimensional space. These representations capture the semantic or contextual relationships between the objects, allowing for operations like similarity comparison and analogy solving. Vector databases are designed to store, manage, and index high-dimensional vector data efficiently. Recommendation engines run similarity searches in their large corpus of music to find music similar to what you are listening to. Audio is stored as vector embeddings in vector databases.
Qdrant
Qdrant is an open-source vector database and search engine written in Rust. It is a one-stop destination for all developers looking to implement vector similarity search, matching and recommending in their applications. It is easy to use for recommendation engines and searching compared to other vector databases as it provides most of the functionality as APIs. Alternatively, ready-to-use client libraries are available for Python and other programming languages. It is highly scalable and has cloud support. It supports a wide variety of data including text, image and audio. Checkout the github repo and the cloud platform also.
By the end of this tutorial, you will know how to convert and store audio datasets in Qdrant database. You will also go through data matching and retrieval for audio data in Qdrant using Python libraries.
Prerequisites
Dataset
For convenience, let’s use a dummy dataset. I am using a corpus of 50 music files from HuggingFace datasets. Check it out here. It is also available as a zip file in the repository.
Setting up Qdrant
Make sure you have docker installed and keep the docker engine running if you are using local environment. Qdrant can be installed by downloading its docker image.
! docker pull qdrant/qdrantRun the Qdrant docker container using the command.
! docker run -p 6333:6333 \
    -v $(pwd)/qdrant_storage:/qdrant/storage \
    qdrant/qdrant
Alternatively, you can start the container from the docker desktop console.

Then start the Qdrant client.
qdrant_client = QdrantClient(host="localhost", port=6333)Let us start by creating a collection. A collection in a database is a grouping of data with each item in it called a document. We specify the size of the vectors in the collection. In this case, each vector has 2048 dimensions.
collection_name = "music_collection"
qdrant_client.recreate_collection(
    collection_name=collection_name,
    vectors_config=models.VectorParams(size=2048, distance=models.Distance.COSINE)
)
The distance attribute specifies the method used to calculate the distance between vectors. The cosine distance measures the cosine of the angle between two vectors. This can be useful when we want to identify or sort similar vectors from a group. Other similarity search algorithms are euclidean distance, hamming distance and manhattan distance.
Install the required libraries
Install and import the required Python libraries.
! pip install qdrant-client transformers datasets pandas numpy torch librosa tensorflow pedalboard import pandas as pd
import numpy as np
import librosa
import torch
import os
from datasets import load_dataset, Audio
from glob import glob
from qdrant_client import QdrantClient
from qdrant_client.http import modelsLoad & Prepare Data
Load the dataset using the HuggingFace datasets library. It would be good to consider the dataset size which fits your needs.
data_path = os.join(".", "music-clips-50", "music-clips-50" )
data = load_dataset(
    "audiofolder", data_dir=os.join(data_path), split="train", drop_labels=True
)
data is a JSON object containing the array representing the songs, the path to each one of them and the sampling rate.

In this dataset, the unique identifier we utilize to retrieve the metadata for each song is its name. Additionally, we are required to generate numerical identifiers for every song which will be the song index.
id = [
    (
     data[i] # for every sample
     ['audio'] # in this directory
     ['path'] # extract the path
     .split("/") # split it by /
     [-1] # take only the last piece "name.wav"
     .replace(".wav", '') # and replace the .wav with nothing
    )
    for i in range(len(data))
]
index = [num for num in range(len(data))]
data = data.add_column("index", index)
data = data.add_column("id", id)
The audio data and features extracted that we push to the database is called a payload. Let us combine all the data into one pandas data frame and create a list of objects suitable for the payload.
dataframe=pd.DataFrame(data)
payload = dataframe.drop(['index', 'id'], axis=1).to_dict(orient="records")
Audio Embeddings
Audio embeddings are compact numerical representations of audio signals. Each vector encapsulates significant characteristics such as pitch, timbre, and amplitude of each audio file in a meaningful way. These embeddings are extensively utilized in various Natural Language Processing tasks involving audio, including speech recognition, detection, and classification.
Embeddings can be generated using Python libraries like openl3 and pans inference. Alternatively, use a custom embedding generating model. Here I will be using the library librosa and a pre-trained Wave2Vec model from HuggingFace Hub and extract the audio embeddings. While it might not be of the highest quality, you’re encouraged to experiment with other conventional methods for generating specific music embeddings.
Get Ashish Abraham’s stories in your inbox
Join Medium for free to get updates from this writer.
Let’s try it one single song from the corpus. Select one song from the directory and load it.
song = join(data_path, "48.wav")
audio, sampling_rate = librosa.core.load(song, sr=44100, mono=True)
audio.shape
You may have to reshape the object depending on the approach for generating the embeddings.
audio_reshaped = audio[None, :]
audio_reshaped.shape
Initialize the model using the weights from the Wave2Vec model.
from transformers import AutoFeatureExtractor, AutoModel
device = torch.device("cuda" if torch.cuda.is_available() else "cpu")
model = AutoModel.from_pretrained('facebook/wav2vec2-base').to(device)
feature_extractor = AutoFeatureExtractor.from_pretrained('facebook/wav2vec2-base')
Wave2Vec works using a sampling rate in the range of 16kHZ. So you may have to resample your data if it does not match this sampling rate.
resampled_audio = librosa.resample(y=audio_reshaped, orig_sr=sampling_rate, target_sr=16_000)Prepare the inputs to feed into the embedding model to generate the embeddings.
inputs = feature_extractor(
    resampled_audio[0], sampling_rate=feature_extractor.sampling_rate, return_tensors="pt",
    padding=True, return_attention_mask=True, truncation=True, max_length=16_000
).to(device)


inputs['input_values'].shape
This line does a few things in case you want to know the embedding model in detail.
with torch.no_grad():
    embeddings = model(**inputs).last_hidden_state.mean(dim=1)
embeddings.shape- model(**inputs) is running the model with the provided inputs.
- last_hidden_state is accessing the last hidden state of the model. For many models, this will be a tensor containing the output features from the final layer.
- mean(dim=1) is taking the mean of these output features across dimension 1 (typically the sequence length dimension for NLP models).
Now you are ready to generate the audio embeddings for the whole dataset.
def generate_embeddings(batch):
    songs = [x["array"] for x in batch["audio"]]


    inputs = feature_extractor(
        songs, sampling_rate=16_000, return_tensors="pt", padding=True,
        return_attention_mask=True, max_length=16_000, truncation=True
    ).to(device)


    with torch.no_grad():
        pooled_embeddings = model(**inputs).last_hidden_state.mean(dim=1)


    return {"Embeddings": pooled_embeddings.cpu().numpy()}


data = data.cast_column("audio", Audio(sampling_rate=16_000))
data = data.map(generate_embeddings, batched=True, batch_size=4)
data
The structure of the generated embeddings is as shown.

Data Insertion, Searching and Retrieval
Kudos! That is great progress. The audio data has been successfully transformed into embeddings. Let us store the embedding to the Qdrant database and perform searching and retrieval.
Start by populating the collection we created earlier. The size must have changed based on the embedding method we chose and the model we used. You may have to recreate the collection based on the size, using the recreate_collection method we mentioned earlier. Here, the embedding dimension is seen to be 768.
Then use the upsert method of a client object to add or update data in a specific collection in a database. A part of payload is a numpy array which is not supported by the JSON retrieval backend of upsert function.
type(payload[0]["audio"]["array"])If the type is not list, you may have to convert it into a list explicitly.
for item in payload:
    item["audio"]["array"] = item["audio"]["array"].tolist()
One thing to take care of here is the payload size. When using this function, check if your payload size exceeds the JSON payload limit. If not, use the upsert function directly as shown.
qdrant_client.upsert(
    collection_name=collection_name,
    points=models.Batch(
        ids=data['index'],
        vectors=data['Embeddings'],
        payloads=payload
    )
)
Otherwise, insert the payload in batches.
batch_size = 4  # Adjust this value based on your needs


for i in range(0, len(data), batch_size):
    batch_data = data[i:i+batch_size]
    batch_payload = payload[i:i+batch_size]
    qdrant_client.upsert(
        collection_name=my_collection,
        points=models.Batch(
            ids=batch_data['index'],
            vectors=batch_data['Embeddings'],
            payloads=batch_payload
        )
    )
Here, the parameter points creates a batch of data points that will be inserted or updated in the collection. Each point in the batch has three components: ids, vectors, and payloads.
Now retrieve any song using its id using the client.retrieve function. You can see the details by printing the payload attribute.
retrieved_song = qdrant_client.retrieve(
    collection_name=collection_name,
    ids=[12],
    with_vectors=True
)
retrieved_song[0].payload
Search for similar songs using the client.search method. Use the ids of your preferred song to search and find similar songs.
qdrant_client.search(
    collection_name=collection_name,
    query_vector=data[15]['Embeddings'],
    limit=4
)
Set the limit to see the closest results based on the cosine similarity score.

Wrapping Up
Congratulations!! You have learned how to convert audio data to embeddings and use the Qdrant vector database for audio data retrieval. You have also seen how we search the database for similar songs based on the embeddings. I encourage you to try larger datasets and other embedding methods that can represent audio better. Also, try scaling this into a recommendation engine based on the Qdrant vector database. I hope you enjoyed this tutorial and found it useful. Thank you for reading and happy coding!