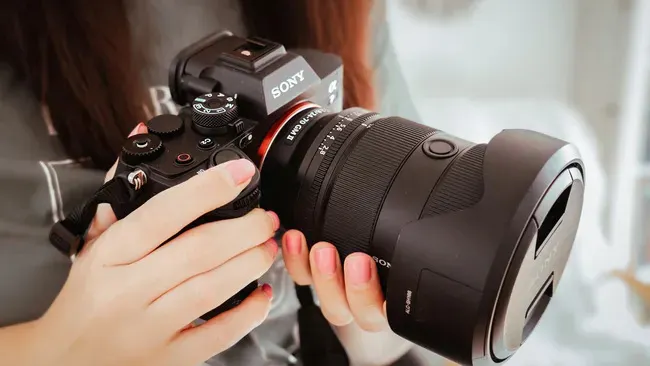
Auto Mode to Manual: A Starter Guide to Photography.


When you first get a camera, using Auto Mode feels like the easiest option. Just point, shoot, and let the camera do all the work. But if you’ve ever wondered why your photos don’t look as good as you expected, the answer might be simple, you’re letting the camera make all the decisions.
Learning to move from Auto Mode to Manual Mode is one of the most important steps in photography. It gives you full control over your images and allows you to create photos that truly match your vision.
But don’t worry, you don’t have to master everything at once.
Why You Should Move Beyond Auto Mode

Auto Mode is great for convenience, but it has limitations. Your camera doesn’t understand your creative intent, it only tries to balance exposure.
This means:
- You have limited control over lighting
- Your photos may look flat or inconsistent
- You can’t fully experiment with creative effects
Switching to manual or semi-manual modes helps you take control and improve faster.
Understanding the Exposure Triangle

To shoot in Manual Mode, you need to understand three basic elements:
1. Aperture (f-stop)
Aperture controls how much light enters the lens.
- Lower f-number (f/1.8) → more light, blurry background
- Higher f-number (f/11) → less light, sharper image
This also affects depth of field, which determines how much of your image is in focus.


2. Shutter Speed
Shutter speed controls how long the camera sensor is exposed to light.
- Fast shutter (1/1000) → freezes motion
- Slow shutter (1/30) → creates motion blur
This is important for shooting action or low-light scenes.


3. ISO
ISO controls how sensitive your camera is to light.
- Low ISO (100) → cleaner image
- High ISO (1600+) → brighter but more noise
Try to keep ISO as low as possible for better image quality.

Start With Semi-Manual Modes First

Going fully manual can feel overwhelming. Instead, start with:
- Aperture Priority (A/Av) → you control aperture
- Shutter Priority (S/Tv) → you control shutter speed
These modes help you learn faster while still getting good results.
Practice With Simple Setups

You don’t need complicated scenes to practice.
Get Ahmad Husain’s stories in your inbox
Join Medium for free to get updates from this writer.
Try:
- Taking portraits near a window
- Shooting objects on your desk
- Practicing in different lighting conditions
Focus on how changing settings affects your image.
Be Patient With the Learning Process

Manual mode can feel confusing at first and that’s completely normal.
You might:
- Overexpose your photos
- Underexpose them
- Miss focus
That’s part of the learning process. Every mistake teaches you something.
Moving from Auto Mode to Manual Mode is not about being perfect, it’s about gaining control.
Once you understand how aperture, shutter speed, and ISO work together, photography becomes more than just taking pictures. It becomes a way to express your creativity.
So take your time, keep practicing, and don’t be afraid to experiment.
Because the moment you stop relying on Auto Mode is the moment you truly start learning photography.
Let’s take and create the moment!