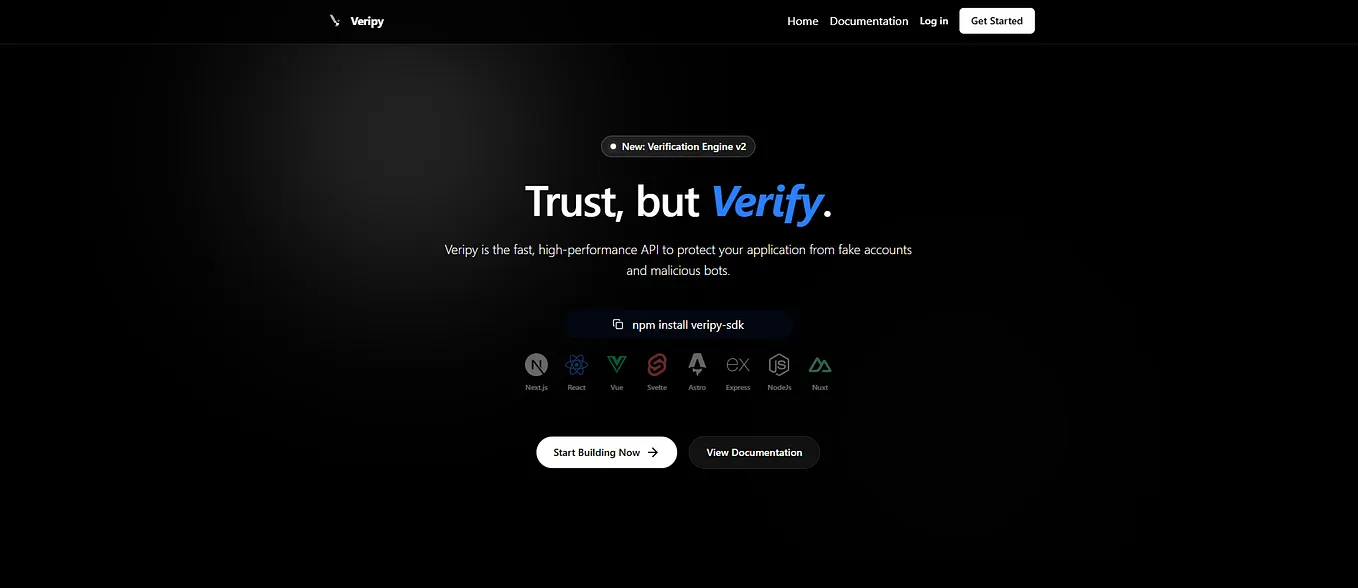
Setup Real-time Email Verification using Veripy-sdk
Using multiple tools for different purposes adds unnecessary complexity to modern codebases. Veripy makes it simpler. But first, what exactly is Veripy?
Veripy is a powerful, real-time email verification service that helps you maintain a clean email list, improve deliverability, and prevent fraud. It checks for syntax, disposable domains, MX records, and mailbox existence with high precision.
Step 1: Create a Veripy Account
Before installing Veripy, visit the official website and sign up using your GitHub account.

Step 2: Create a Project and API Key
Once signed in, you will be directed to the dashboard. Create a new project and give it a name. Open the project settings to generate your first API key.

Step 3: Install the SDK and Configure Environment Variables
Add your API key to your project’s environment variables (e.g., in a .env file). Then, install the veripy-sdk using npm:
npm install veripy-sdkveripy_api_key=vp_sddejfsah32kcjsad23cfdgrt4argre //sample api keyStep 4: Coding the configuration
Get Richard Banguiz’s stories in your inbox
Join Medium for free to get updates from this writer.
In your backend/server, import Veripy client.
import { VeripyClient } from "veripy-sdk";
// add new client instance, add some options
const client = new VeripyClient({
  apiKey: process.env.VERIPY_API_KEY || "",
  config: {
    spamDetection: true,
    rateLimit: true,
  },
});
// on your post method on login or signup add the new client to veripy the
// email
app.post("/api/verify", async (req: any, res: any) => {
  const { email } = req.body;

  if (!email) {
    return res.status(400).json({ error: "Email is required" });
  }

  try {
    console.log(`Verifying email: ${email}`);
    const result = await client.verify(email);// add this to your code
    console.log("Verification success:", result.valid ? "Valid" : "Invalid");
    res.json(result);
  } catch (error: any) {
    console.error("Verification failed:", error.message);
    res.status(500).json({ error: error.message });
  }
});
As you can see, setting veripy is very minimal and easy, no need for more tools and 3rd party tools.
Step 5: Test Your Integration
Now, after that test your project if it’s working. Add verified email first then the unusual email for the second time. On the verified user it will return verified.

It will return something like this.
{
  "valid": true,
  "email": "richardbanguiz@gmail.com",
  "results": {
    "syntax": true,
    "disposable": false,
    "mx_records": true,
    "mailbox": true
  },
  "score": 0.98,
  "timestamp": 1711311600000
}
On the other hand, when you input invalid email, it will look like this.

It will return like this.
{
  "valid": false,
  "email": "test@test.com",
  "results": {
    "syntax": true,
    "disposable": true,
    "mx_records": true,
    "mailbox": true
  },
  "score": 0.15,
  "timestamp": 1711311650000
}
On the veripy dashboard you will see the two request, block and allowed emails.

Monitor your email traffic in real-time and view detailed insights for every request. Best of all, there’s no need to set up custom rate-limiting Veripy handles that for you automatically.
That’s it! You are ready for production. Head over to the Veripy website to secure your site today!