Superb Ideas for Indoor Mobile Photography

The two best features of indoor photography are that anybody can do it, and they can do it without an expensive budget. Initially, many photographers believe that indoors means more restrictions than outside, which is valid to some extent. But, what only a consistent photographer discovers is that if you spend some time looking beyond the obvious, you can turn objects that are right in front of you into amazing props and backdrops.
I composed an indoor photography triangle — LPB — Light, Props and Backgrounds, which I use as the base for any indoor photography project. With the right combination of these three elements, you can never go wrong — and that makes it possible to shoot with your mobile cameras without feeling the absence of DSLR cameras. All you need is a grip of this triangle and a few ideas to help you pick up your indoor mobile photography game:
1) Optimum Timing for Indoor Photography
Every photographer would suggest you use natural light for your photographs, but the amount of light you get from outside is minimal when you are indoors. Therefore, it is a must that you plan your shoots ahead in time to match the perfect time of the day when you can get sufficient light.

It also isn’t about the amount of light you get but also about its intensity. For instance, if you shoot in the middle of the day outside, the light will be harsh, and the output won’t be great at all. If you instead click indoors during the Sun’s top hours, it just the right amount of light for an indoor setting.

The other good times in terms of natural light are when sunlight is in a diffused phase. This happens twice a day — right after sunrise and right before sunset. So, say the sunrise in your city is at around 6.30, your ideal time could be anywhere between 7/7.30 to 10.30/11. After this, the Sun starts to go to the top, implying direct sunlight in its harshest form. If sunset in your city is around 5.30 or 6, your ideal time to shoot would be between 4 to 5. There is light after the Sun sets too, but if you don’t start early, by the time you set up and can get the hang of what you want in the picture, it will be dark outside. So, set up early so that you are ready to press the shutter at just the right time.

So, for indoors, mid-day, after sunrise, and before sunset are the best timings for photography. Read further to see what kind of pictures you can click during these hours of the day.
2) DIY Resources and Backgrounds
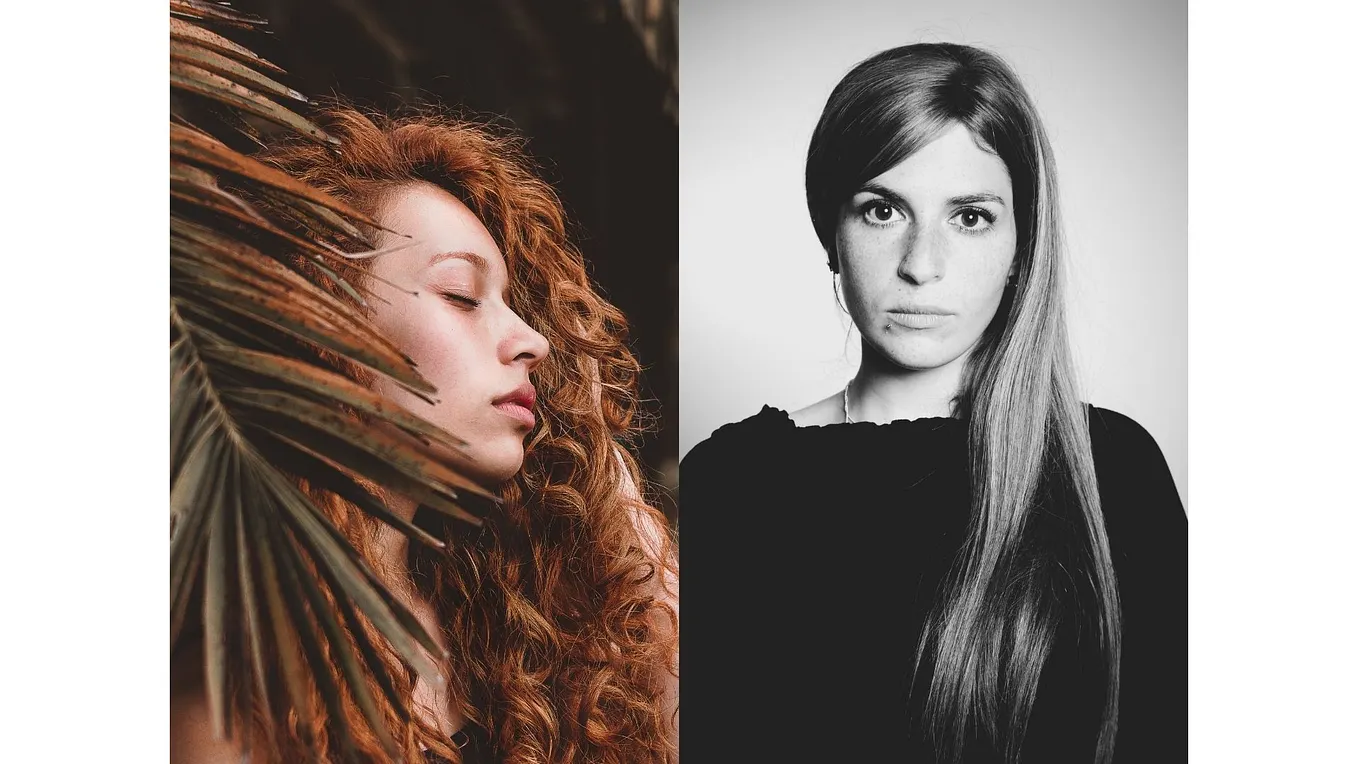
Whether you are shooting indoors or outdoors, it is always possible for you to create some resources and props of your own. Especially indoors, you can resort to DIY ideas available online on blogs and by photographers to create your studio-like settings. For example, I learned this in my photography class — using a steel plate as a reflector. Look at the two images below to see the difference:

Both are with subjects placed in front of a door with a natural light source, but I have placed a steel plate in one of them to have the light reflected towards my subject, hence letting light come from two directions (front and back). You can also use a mirror or any other shiny surface to act as a reflector.
There are more examples of what you can do yourself. For example, if you are doing product photography, you can create small backdrops. For instance, in my blog on food photography, I shared how I used a chart paper stained with butter marks from cupcakes for texture, as a backdrop for clicking pictures of the cupcakes. Or, another time, I used a crushed foil paper to create a reflective and shiny background for product photography for some jewellery. The results were absolutely stunning. All I had to do was crush some silver foil from the kitchen and place a small fairy light close to it to create a nice, dramatic background for the jewels.

You can create similar resources like lightboxes, with lighting available at your home, cardboards and chart papers, wooden sheets from the garage, etc. You just have to be creative. Since indoors is a smaller and compact space, you can create a lot with very little.
3) Use Wide-Angle Lens
The advantage of having a good mobile phone for photography is that you can play with different frame sizes such as 4:3, 16:9, 1:1, full, etc. But the best of all options is the wide-angle frame and if your mobile camera has it, count yourself lucky. The great thing about a wide-angle lens or frame is that you can capture longer shots with more area covered. It helps you get a more detailed perspective of the view. When indoors, a wide-angle lens can have an excellent output when capturing something like an antique room in a museum or maybe trying to capture the stylish or unique lighting in a room with lamps.
Get scool.life’s stories in your inbox
Join Medium for free to get updates from this writer.
Similarly, panoramas can be helpful too in creating similar effects. Elongated frames in shots can help capture details in a frame. Another less-known feature that births from wide-angle and panoramas is the Google Street View camera which lets you make a 360 degrees capture. You can cover an entire room in one frame with this. Tour guides use Google Street View to capture tourist places in a 360 degrees view. It gives an immersive feel to the viewer.
4) Use Windows and Mirrors
We have talked earlier about the advantage of using natural light in indoor photography. The best location, especially when you can’t figure out another setting to shoot in, is near a window. There are numerous types of shots that you can take when you use a window as a background or the source of light.

When using it as a background, the view outside can help in better explaining the subject in the pose. A great example is a city skyline visible through the window in the background. Or, if you are clicking a portrait, a bright light outside the window or a dark orange-pink sky after sunset can help create striking silhouettes. Another great idea is to use a glass window after rain as a background. The droplets, still or moving, make a beautiful backdrop.

When using windows as light sources, you can place the subject directly in front of it to get great lighting in the shot. Using thin curtains with the window can help soften the light if you want that effect to chip in. If you’re going to get creative, you can use a window with bars or slits to project shadows on the subject’s face in the case of portrait photography. It is also a good idea for still life photography.

You can also use windows with reflective glasses to create a reflection in the pictures. These kinds of photos work well both in the day time and at night. During the night, a street light coming can help create a dramatic reflection with an intense look. You can also use mirrors for portrait photography indoors. In these cases, what you click is the mirror with the subject’s reflection and background and not the subject.

5) Choice of Background
Careful selection of background is essential in photography. What a background shows is a reflection of the subject’s personality. When in an indoor setting, you can easily create backgrounds that align with the subject’s key features. For example, if it is a portrait that you are shooting, think of creating a background setting that best expresses the subject’s personality. If you are shooting a musician, you can have music elements in the background. With a writer, you can click them in a library or front of a bookshelf. If you click a child’s picture, you can have a playroom as the background or an indoor swing.
When doing product photography, you can create the backgrounds based on what kind of product it is. Let’s say you are doing food photography; you will mostly require a kitchen background. If you are clicking Christmas gingerbread cookies, a background with snow or a Christmas tree or bells and lighting, etc. will create a great setting, and it would probably click best at night. But if you are clicking a mango cake or ice cream, you need a day shot with a summer look for the background.

Similarly, suppose you are doing product photography for clothes like a simple top or a flowery summer dress. In that case, you can shoot in a light setting with brightness around, but if you are clicking a leather jacket, or boots, or glasses, your background should most likely be dark and intense.

Indoor photography can be slightly challenging due to several restrictions and limited space, unlike outdoors, but you can get the hang of the tips and tricks as you explore it more. You might even fear it to be creatively restraining due to the limited options in everything, but the key is to use everything you have inside the walls to the maximum extent. You have to think innovatively and use props to bring life to your pictures. You can play with artificial lighting too to create different effects.

Just remember to keep your eyes open to search for various options in backdrops and setting as you move around indoors. You can always refer to online photography blogs and even pages on Instagram to get ideas. I, personally, watch lots of IGTV videos for hacks online on Instagram. If you want to hone your skills as a mobile photographer, try out online courses to get you started. Mobile photography combined with indoor settings is a great area of exploration where you can learn and have fun doing it!
Originally published at https://blog.scool.life on June 5, 2021.