BLDC Motor Control with SimpleFOC Library

In this project, we will run the BLDC motor control as a stepper motor instead of running it continuously. In fact, we can call this control system as the control of the gimbal camera called CAT used in unmanned aerial vehicles.
I wanted to give this example because it is systematically similar.
BLDC Motor: We call it brushed DC motor with simple design and easy control.

I will use GM4108 DC Brushed Motor in my project. Link for those who want to review and buy the product:
Product Link:
For Example:

1. Setting up a Library
The library will be required for this work. Because instead of running the engine continuously, we will do intermittent work. You can access this library setup via the Arduino IDE.

After accessing the Library Manager section and typing in the library section in the search section, download the files that say ‘Simple FOC’ and ‘SimpleFOCDrivers’ from the 3 libraries that appear.
2. Selected Ingredients
Of course, our electronic circuit diagram materials will be required to run this engine. We must choose the motors, motor driver, microprocessor to be used in these.
Get Sefasayraci’s stories in your inbox
Join Medium for free to get updates from this writer.
Brushless Motor:

Motor Driver:

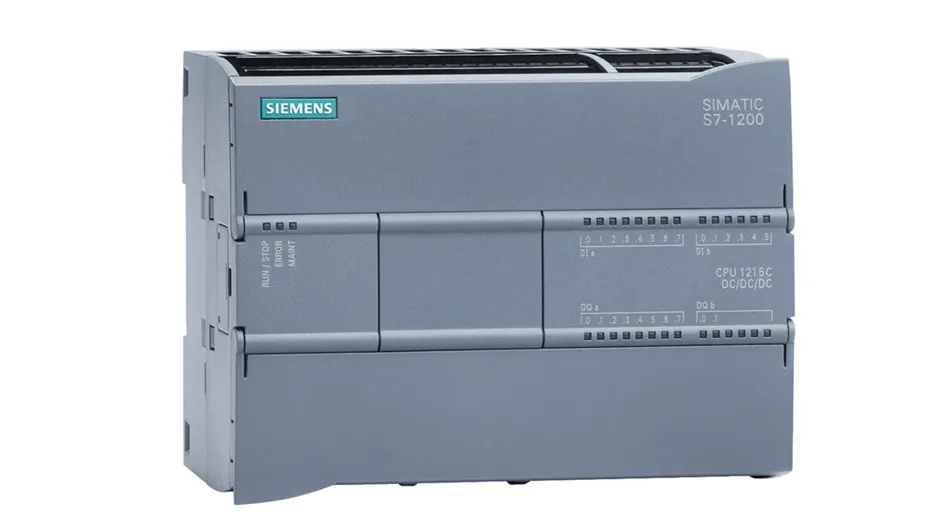
Microprocessor:


3. Circuit Wiring Diagram
4. Code Analysis
5. Code
Code work presented to us on the IDE:
#include <SimpleFOC.h>
// software interrupt library
#include <PciManager.h>
#include <PciListenerImp.h>
// BLDC motor & driver instance
BLDCMotor motor = BLDCMotor(11);
BLDCDriver3PWM driver = BLDCDriver3PWM(9, 5, 6, 8);
// Stepper motor & driver instance
//StepperMotor motor = StepperMotor(50);
//StepperDriver4PWM driver = StepperDriver4PWM(9, 5, 10, 6, 8);// hall sensor instance
HallSensor sensor = HallSensor(2, 3, 4, 11);// Interrupt routine intialisation
// channel A and B callbacks
void doA(){sensor.handleA();}
void doB(){sensor.handleB();}
void doC(){sensor.handleC();}
// If no available hadware interrupt pins use the software interrupt
PciListenerImp listenC(sensor.pinC, doC);// angle set point variable
float target_angle = 0;
// instantiate the commander
Commander command = Commander(Serial);
void doTarget(char* cmd) { command.scalar(&target_angle, cmd); }void setup() { // initialize sensor hardware
sensor.init();
sensor.enableInterrupts(doA, doB); //, doC);
// software interrupts
PciManager.registerListener(&listenC);
// link the motor to the sensor
motor.linkSensor(&sensor); // driver config
// power supply voltage [V]
driver.voltage_power_supply = 12;
driver.init();
// link the motor and the driver
motor.linkDriver(&driver);
// aligning voltage [V]
motor.voltage_sensor_align = 3;
// index search velocity [rad/s]
motor.velocity_index_search = 3; // set motion control loop to be used
motor.controller = MotionControlType::angle; // contoller configuration
// default parameters in defaults.h // velocity PI controller parameters
motor.PID_velocity.P = 0.2f;
motor.PID_velocity.I = 2;
motor.PID_velocity.D = 0;
// default voltage_power_supply
motor.voltage_limit = 6;
// jerk control using voltage voltage ramp
// default value is 300 volts per sec ~ 0.3V per millisecond
motor.PID_velocity.output_ramp = 1000; // velocity low pass filtering time constant
motor.LPF_velocity.Tf = 0.01f; // angle P controller
motor.P_angle.P = 20;
// maximal velocity of the position control
motor.velocity_limit = 4;
// use monitoring with serial
Serial.begin(115200);
// comment out if not needed
motor.useMonitoring(Serial); // initialize motor
motor.init();
// align sensor and start FOC
motor.initFOC(); // add target command T
command.add('T', doTarget, "target angle"); Serial.println(F("Motor ready."));
Serial.println(F("Set the target angle using serial terminal:"));
_delay(1000);
}void loop() {
// main FOC algorithm function
// the faster you run this function the better
// Arduino UNO loop ~1kHz
// Bluepill loop ~10kHz
motor.loopFOC(); // Motion control function
// velocity, position or voltage (defined in motor.controller)
// this function can be run at much lower frequency than loopFOC() function
// You can also use motor.move() and set the motor.target in the code
motor.move(target_angle); // function intended to be used with serial plotter to monitor motor variables
// significantly slowing the execution down!!!!
// motor.monitor(); // user communication
command.run();
}
Code to Run:
#include <SimpleFOC.h>// BLDCMotor( pole_pairs )
BLDCMotor motor = BLDCMotor(11);
// BLDCDriver( pin_pwmA, pin_pwmB, pin_pwmC, enable (optional) )
BLDCDriver3PWM driver = BLDCDriver3PWM(3, 5, 6);
// Encoder(pin_A, pin_B, CPR)
Encoder encoder = Encoder(2, 3, 2048);
// channel A and B callbacks
void doA(){encoder.handleA();}
void doB(){encoder.handleB();}
void setup() {
// initialize encoder hardware
encoder.init();
// hardware interrupt enable
encoder.enableInterrupts(doA, doB);
// link the motor to the sensor
motor.linkSensor(&encoder);
// power supply voltage [V]
driver.voltage_power_supply = 12;
// initialise driver hardware
driver.init();
// link driver
motor.linkDriver(&driver); // set control loop type to be used
motor.controller = MotionControlType::velocity;
// initialize motor
motor.init();
// align encoder and start FOC
motor.initFOC();
}void loop() {
// FOC algorithm function
motor.loopFOC(); // velocity control loop function
// setting the target velocity or 2rad/s
motor.move(2);
}