Straight to Business — Cemented Penny Loafer

Hello! My name’s Will. I started shoemaking quite recently, but have been a hobbyist leather crafter for a few years now. I’d always wanted to pursue shoemaking, but found it quite a difficult to find really good resources detailing even which tools one would need to start, let alone begin to practise any of the myriad skills required to produce a beautiful pair of shoes!
…And that’s where the idea for this blog came from. Hopefully, over time, this blog can become a one-stop shop for shoemaking skills, techniques, and information. As this blog grows, I hope to have guest authors, information on tools and techniques, walk throughs, and really anything that is requested! As I learn, as shall you. Hopefully some of you can teach me a thing or two, too!
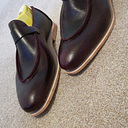
So, with all that said. The first series is the ‘Cemented Penny Loafer’: My first lasted shoe.

Now, while I remember. What’s a last? A last is the solid form around which a shoe is made (pictured to the left). I bought mine from Springline, the only remaining last maker in the UK.
Get Shoemaking: Unstitched’s stories in your inbox
Join Medium for free to get updates from this writer.
When choosing your size, I recommend trying on a few pairs of Crockett & Jones, Loake, Tricker’s, Church’s, or Jeffery-West shoes. Find a pair that fits you really well, then email Springline with the size and style you tried on, and ask if you can have a last based on this shape.
Now, unfortunately the next few steps will be a bit tough, as my idea for starting this blog came once I started my next pair of shoes, and therefore didn’t take any photos… So bear with me.
Before I started making, I bought the ‘I Can Make Shoes’ book from… Well, I Can Make Shoes (https://icanmakeshoes.com/). Now, I must say, this book is aimed at those with no shoemaking experience whatsoever. Before starting I had done an awful lot of research and had a keen interest in shoes and shoemaking, along with my previous experience in leather craft. If you are in a similar position and you have a reasonable handle on how shoes are put together, you probably don’t need to buy this book. If, however, you are brand new to it all, it is an excellent resource breaking down the steps involved in cemented shoemaking.
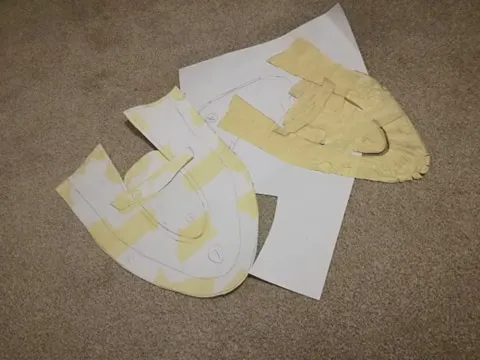
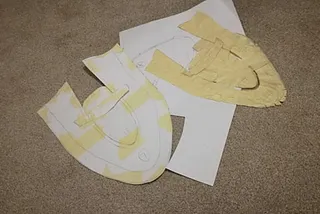
Anyway, your first job is to cover your last in masking tape. Try and lay tape down in at least two orientations, or ensure that you have lots of overlapping. That way, when you cut it off your last the pieces stay together nicely.

Once your tape is laid down smoothly over the entire last excluding the sole (see a particularly good example of this in the photo from Carreducker). The next task is to draw your shoe onto the masking tape. This is a great opportunity to let your imagination run wild. I opted for an apron fronted penny loafer (which I will show once the pictures I have are relevant to the topic being discussed), and the image to the left is an oxford with punched detailing. I should say, you only need to draw your shoe on the one last. Once the pattern is made, you can simply reverse the pattern for the other shoe!
Right, let’s not make this too long of a read. The next post will be on creating a 2D pattern from this 3D shape, along with adding the required allowances and what not. See you next time.