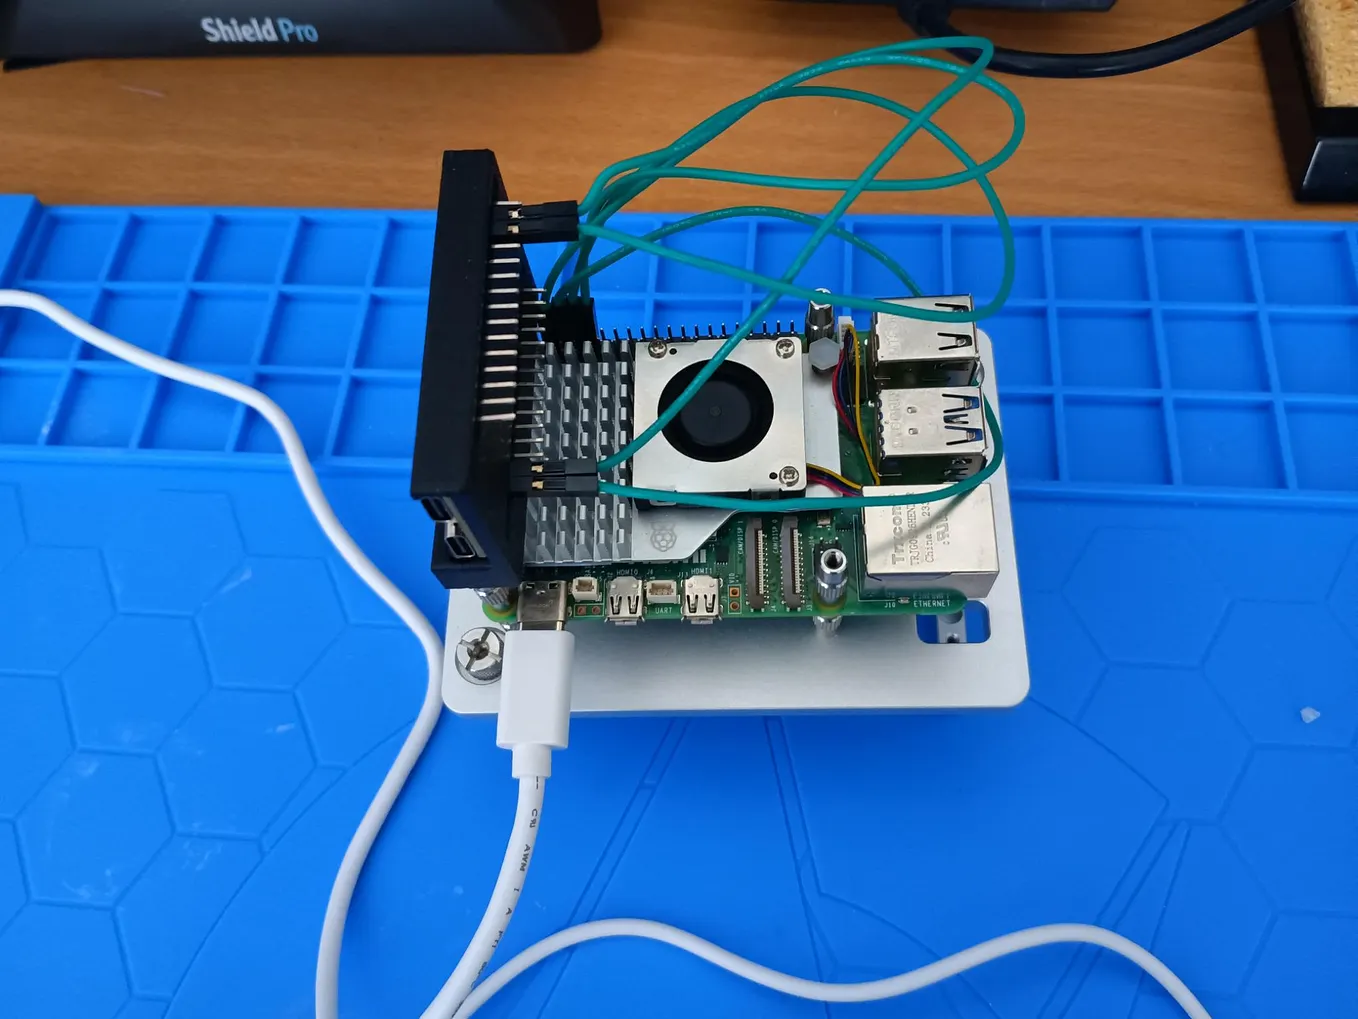
Debugging ThreadX on 32-bit STM32F4 microcontroller


Disclaimer: The opinions expressed here represent my own and do not reflect those of my employer.
In part 1 of my ThreadX series, we explored a great deal about its priority-based preemptive task scheduling capabilities simulated on Win32 threads. In this story, we will build, flash/deploy and debug a sample application running on the MXCHIP AZ3166 DevKit with Arm® Cortex®-M4-based STM32F4 microcontroller. Specifically, we will dive deep into the ThreadX kernel, NetX Duo TCP/IP network stack, and the Azure IoT middleware addon:

Setting up debugging environment
Follow Azure IoT Embedded device development guide to configure the device and come back to this story for further exploration. You love pictures, I do too! Here’s what the board looked like while executing in the hardware initialization routineboard_init()from main():

Prerequisites
- In order to use gdb to debug ARM devices, let’s install OpenOCD for Windows. Extract the 7z file and add the bin directory (
OpenOCD-20240916-0.12.0\bin) to your path. - Install the STM32 ST-LINK Utility (or the newer version STM32CubeProgrammer ) to program the microcontroller. FYI: the MXChip AZ3166 board has a built in STLink 2.1 programmer / debugger. Those utilities will flash binary and allow us to debug the MCU. It also has a GUI interface too.
- Install VS Code extensions: CMake Tools and Cortex Debug. Here I’m assuming you have already installed C/C++ and CMake in your local environment.
We will get started by cloning the repo and launch VS Code from (getting-started\MXChip\AZ3166). You can choose to open the dev container and work inside a Linux container (if you prefer using the Linux cross toolchain).
git clone --recursive https://github.com/eclipse-threadx/getting-started.git
cd \getting-started\MXChip\AZ3166\
code .
Now you can build withF7and debug with F5 as usual:

In order to explore and debug the application further, let’s identify the key components in the source code:
├── cmake/
    ├── arm-gcc-cortex-m4.cmake
    └── arm-gcc-cortex-toolchain.cmake
├── MXChip/
    └── AZ3166/
        └── app/
            └── legacy/
            └── startup/
                ├── MXChip_AZ3166.ld
                ├── startup_stm32f412rx.s
                ├── system_stm32f4xx.c
                └── tx_initialize_low_level.S
            └── stm32cubef4/
                └── stm32f4xx_hal_msp.c
            ├── azure_config.h
            ├── board_init.c
            ├── console.c
            ├── main.c
            ├── nx_client.c
            ├── screen.c
            └── wwd_networking.c
        └── lib/
            └── mxchip_bsp/
            └── netxduo/
                └── nx_user.h
            └── stm32cubef4/
            └── threadx/
                └── tx_user.h
├── shared/
    └── lib/
        └── jsmn/
            └── jsmn.c
        └── netxduo/
            └── addons/
                └── azure_iot/
                    └── azure_iot_security_module/
                    └── azure-sdk-for-c/
                    ├── nx_azure_iot_adu_agent.c
                    ├── nx_azure_iot_adu_root_key.c
                    ├── nx_azure_iot_hub_client_properties.c
                    ├── nx_azure_iot_hub_client.c
                    ├── nx_azure_iot_json_reader.c
                    ├── nx_azure_iot_json_writer.c
                    ├── nx_azure_iot_provisioning_client.c
                    └── nx_azure_iot.c
            └── common/
                └── src/
        └── threadx/
            └── cmake/
            └── common/
                └── inc/
                    ├── tx_api.h
                    ├── tx_initialize.h
                    ├── tx_thread.h
                    ├── tx_timer.h
                    ├── tx_trace.h
                    └── tx_user_sample.h
    └── src/
        └── azure_iot_mqtt/
            ├── azure_iot_dps_mqtt.c
            └── azure_iot_mqtt.c
        ├── azure_iot_connect.c
        ├── azure_iot_nx_client.c
        ├── networking.c
        ├── newlib_nano.c
        └── sntp_client.c
The “MXChip\Az3166\app\main.c”
The main.c file contains the application entry point main() which is responsible for:
- Entering ThreadX kernel
tx_kernel_enter() - Initializing the hardware
board_init() - Start the main application thread
tx_thread_create()which then: - Starting the network
- Starting the SNTP client
- Starting the IoT Hub thread
Next, we will look into NetX Duo, the ThreadX’s networking stack and the Azure IoT add on.
Get Rick Jen’s stories in your inbox
Join Medium for free to get updates from this writer.
Set a breakpoint in routine nx_azure_iot_hub_client_connect() of getting-started\shared\lib\netxduo\addons\azure_iot\nx_azure_iot_hub_client.c:

Start debugging with F5 and as you can see, the execution breaks at line 411. Let’s examine the call stack:
nx_azure_iot_hub_client_connect@0x08016990 (c:\Users\rijen\source\getting-started\shared\lib\netxduo\addons\azure_iot\nx_azure_iot_hub_client.c:411)
iothub_connect@0x08007d54 (c:\Users\rijen\source\getting-started\shared\src\azure_iot_connect.c:68)
connection_monitor@0x08007e80 (c:\Users\rijen\source\getting-started\shared\src\azure_iot_connect.c:156)
client_run@0x08007b22 (c:\Users\rijen\source\getting-started\shared\src\azure_iot_nx_client.c:1154)
azure_iot_nx_client_hub_run@0x08007bba (c:\Users\rijen\source\getting-started\shared\src\azure_iot_nx_client.c:1181)
azure_iot_nx_client_entry@0x08008bb8 (c:\Users\rijen\source\getting-started\MXChip\AZ3166\app\nx_client.c:416)
azure_thread_entry@0x080093da (c:\Users\rijen\source\getting-started\MXChip\AZ3166\app\main.c:40)
_tx_thread_shell_entry@0x0800c0c6 (c:\Users\rijen\source\getting-started\shared\lib\threadx\common\src\tx_thread_shell_entry.c:114)
The App’s main() ingetting-started\MXChip\AZ3166\app\main.ccreates the Azure Thread which eventually calls the Azure IoT middleware in the NetX Duo’s addons connecting and sending telemetry to Azure IoT Hub.
The STM32CubeProgrammer
It provides an easy-to-use and efficient environment for reading, writing, and verifying device memory through both the debug interface and we will use it to read the data in memory.
First, let’s get the memory address from the GDB debug session, from the call stack, we will go back to this routine:
azure_iot_nx_client_hub_run@0x08007bba (c:\Users\rijen\source\getting-started\shared\src\azure_iot_nx_client.c:1181)
Stop the debugger and open the STM32CubeProgrammer, and you will be able to examine the memory at address 0x80856D3Cwhile the app is loaded in memory:

Azure IoT Hub & real-time telemetry data
From Azure Portal, we can review basic metrics of IoT Hub showing the messages from my AZ3166 board:

If you’re interested in visualizing the telemetry data collected from the sensors, follow this guide to set up a JavaScript app which consumes the telemetry data from the consumer group you specify in Azure IoT Hub. You can also explore other popular alternatives such as ingesting data into Azure Data Explorer (ADX) and use KQL in ADX for visualization, please refer to this great article: Azure Data Explorer connector for IoT Hub with real-time ingest — Sander van de Velde

Conclusion
If you were able to follow this far, congratulations! You are ready to explore on your own and develop advanced applications on top of ThreadX and build real-world solutions! Please feel free to send feedback to me or what you would like to see, and I will publish more stories with Azure IoT services: Azure IoT Products and Services | Microsoft Azure.