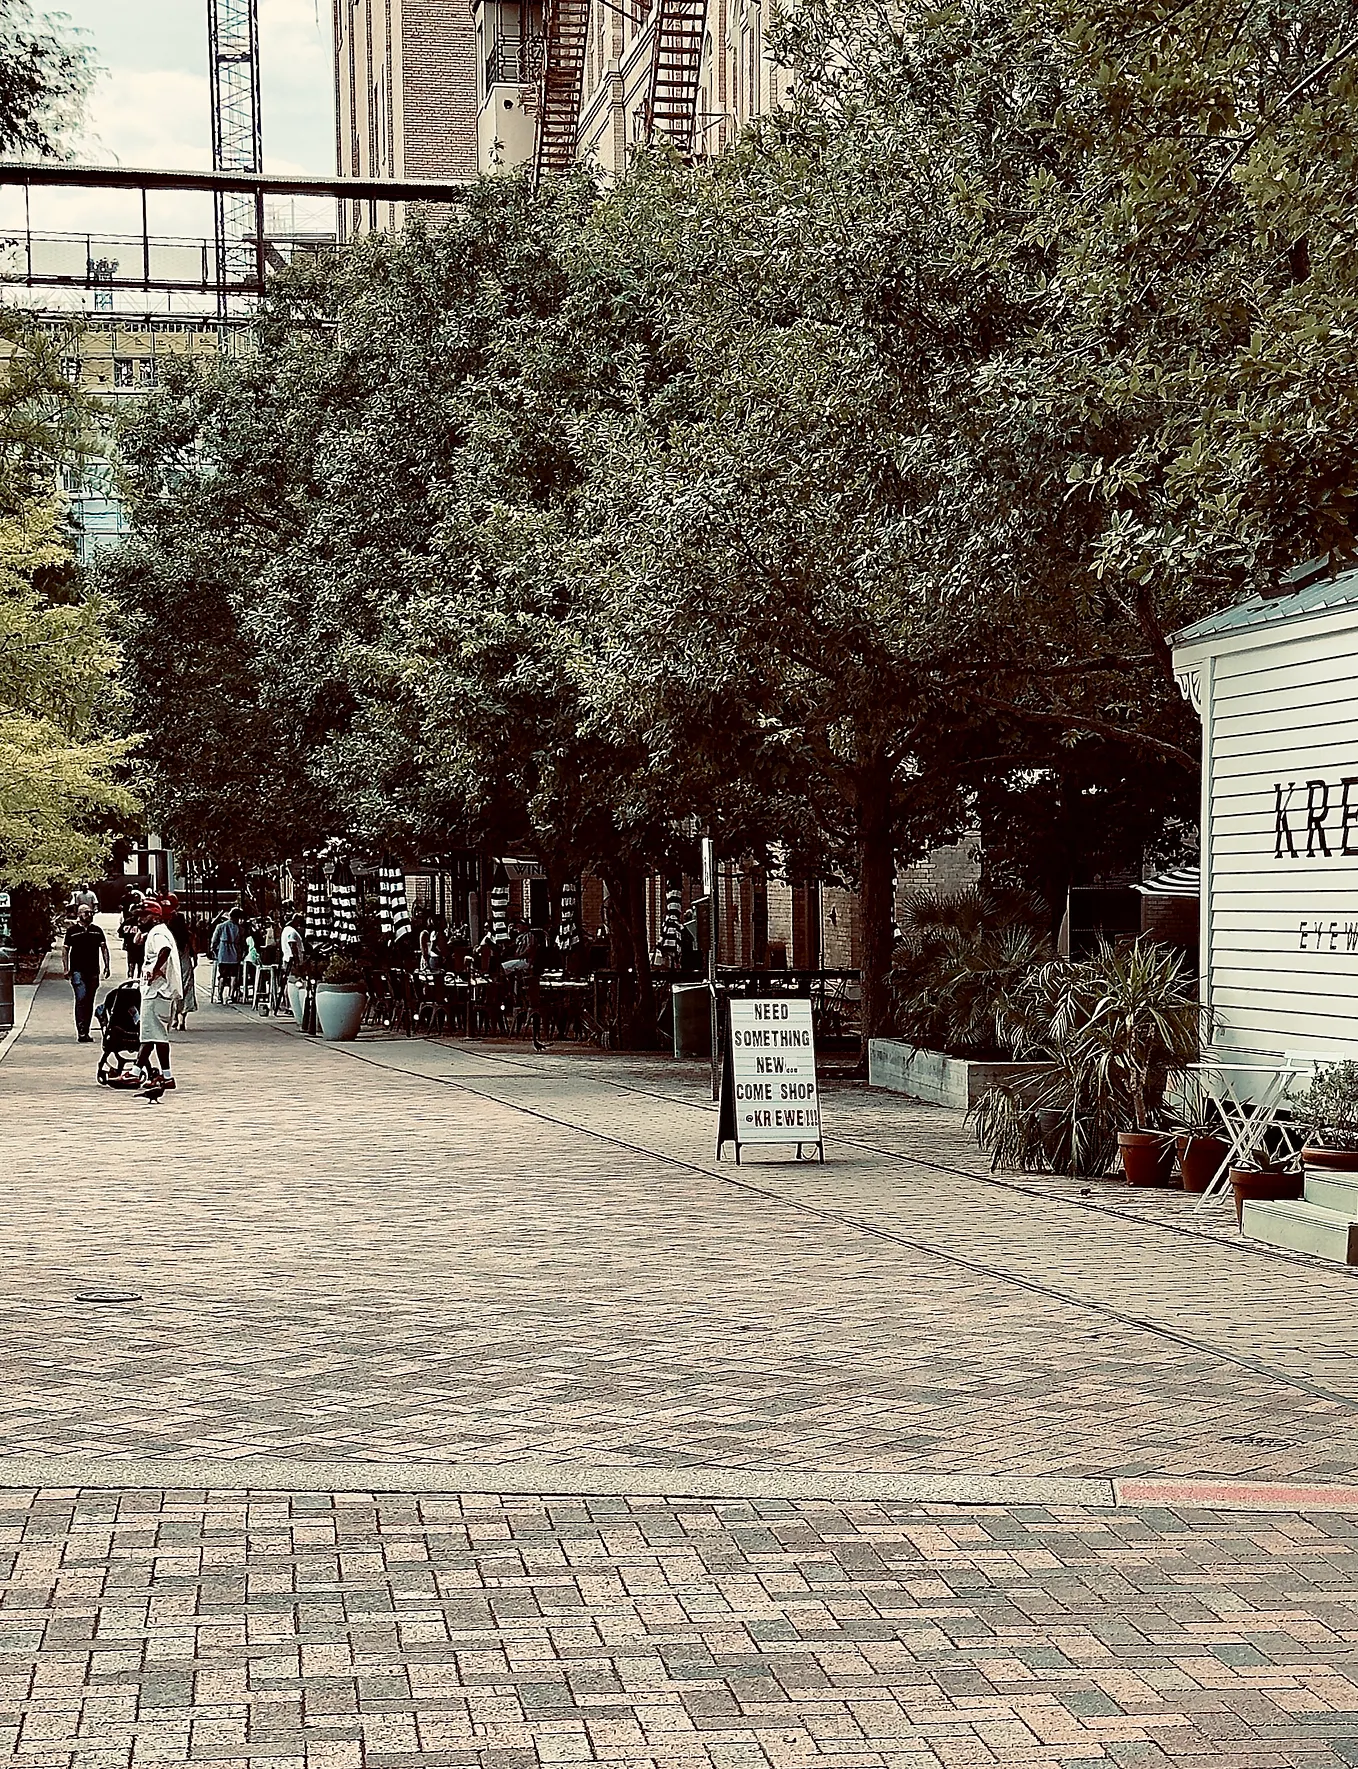
Feature Friday 3: Photo Stories

Good day, readers!
When we hear a term, we often associate that term with something else. For instance, if I say ‘summer’, you think ‘heat’; if I say ‘bread’, you think ‘butter’; if I say ‘computer’, you think ‘mouse’. Similarly, when someone says ‘HopBucket’, you think ‘Photo Stories’.
Photo Stories are the defining and most popular function of our website and apps. Photo Stories are shared records of the highlights of your trip. They include photos, tags, descriptions and tips.
So, in simple words, Photo Stories help you to:
- share the photos that highlight your trip
- tag these photos in order to help categorise them
- describe your experiences while taking these photos
- give tips to your friends and followers, so that they can have an enjoyable experience at those places.
Let us quickly tell you how to create your own Photo Stories:
1. Access ‘My Trips’ on your account(skip this step if you’re using the HopBucket website).
Get Pratyush Panshikar’s stories in your inbox
Join Medium for free to get updates from this writer.
2. Go to ‘Photo Stories’.
3. Tap ‘Add Photos’, and select the ones you wish to upload. Then, you can add information in the Photo Story Editor.


4. Optionally, add locations, tags, experiences and tips to your photos.

5. Tap ‘Done’, and voila! Your Photo Story is ready!
Creating and sharing Photo Stories is what forms the core of our website and apps. You can view your friends’ Photo Stories in the ‘Gallery’.
We hope that this post has given all of you an incentive to create and share Photo Stories from all your trips, and we are very excited to see what all of you come up with!
Happy Travels, and have a nice day!
Get the free HopBucket app here.