Easiest way to Train yolov7 on the custom dataset


Hey guys in this blog we will see how we can Train yolov7 on the custom dataset and create a Number Plate Detector.
Read the full blog with step by step guide here — https://machinelearningprojects.net/train-yolov7-on-the-custom-dataset/
Check out the video here — https://youtu.be/_7gaCt5j9Ec
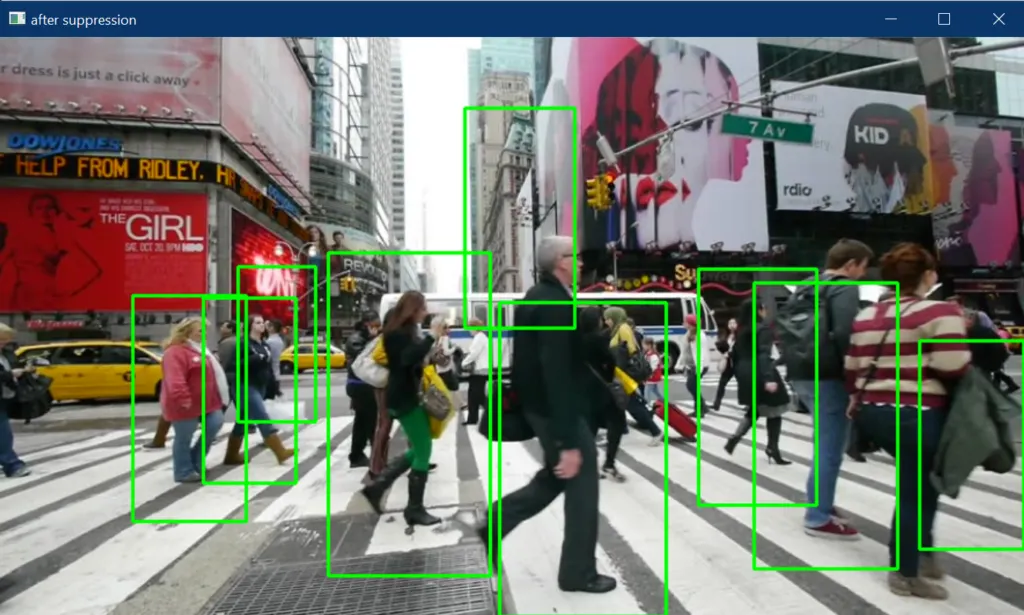
Sneak Peek at our Output…
Yolov7 is the new state-of-the-art real-time object detection model.
You can use it for different industrial applications. Also, you can optimize the model, that is, converting the model to ONNX, TensorRT, etc, which will increase the throughput and run the edge devices.

In this blog, we will see the step-by-step guide to Train yolov7 on the custom dataset.
Get Abhishek Sharma’s stories in your inbox
Join Medium for free to get updates from this writer.
So without any further due, let’s do it…
Step 1 — Open Colab
- Open Colab and create a new notebook.
- Change the runtime to GPU from the header menu by going to Runtime>Change Runtime>GPU.
- Clone the yolov7 repository from GitHub by running the following command in the Colab Notebook.
!git clone https://github.com/WongKinYiu/yolov7.git
Step 2 — Install requirements
- Inside the cloned yolov7 folder you will find a file called “requirements.txt”.
- Open this File.

- Remove Line 11 and Line 12 which are torch and torchvision.
- We are doing so because we will install CUDA enabled torch and torchvision ahead.
- After removing it, your file should look like the one below.

- Create a new file called “requirements_gpu.txt” in the cloned yolov7 folder.

- Open this new file and paste the following content into that file.
-i https://download.pytorch.org/whl/cu113
torch==1.11.0+cu113
torchvision==0.12.0+cu113- Now let’s install the required libraries from the “requirements.txt” and “requirements_gpu.txt” files by running the following command in the Colab notebook.
!pip install -r yolov7/requirements.txt
!pip install -r yolov7/requirements_gpu.txt
Step 3 — Let’s Upload the data
- Create 2 folders ‘train’ and ‘val’ on your PC.

- Each of these folders should have two folders; images and labels.

- Now create a zip containing the train and val folders.
- Upload that zip file to the data folder in our cloned yolo folder.

- Now run the following command in the Colab Notebook to extract this file in the data folder in the yolov7 folder.
- We are also using a copy command to copy this whole data folder outside the yolov7 folder also. (This is a precautionary step)
!unzip yolov7/data/trainandvaldata.zip -d yolov7/data/
!cp -R yolov7/data data- After running this command in Colab Notebook, your data folder should look like the one below.

Step 4 — Editing Config Files
- Now open the “coco.yaml” file from the data folder and delete the first 4 lines (till the download part).
- Set ‘train: ./data/train’
- Set ‘val: ./data/val’
- Set ‘nc:1’ (no of classes), Change it according to your need, I have just one class so I have set ‘nc:1’.
- Set names:[‘number plate’], Change it according to your need. The only class in my dataset is ‘number plate’ hence my names list has only one class.

- Now open the yolov7/cfg/training and open the “yolov7.yaml” file there.
- Just make one change in line 2; change the nc (no of classes), I will set it to 1 as I only have one class.

Step 5 — Download pre-trained yolov7 weights
- Now we need to download pre-trained yolov7 weights.
- Open the GitHub link https://github.com/WongKinYiu/yolov7#performance and click on YOLOv7.
- Move the downloaded yolov7.pt file to the yolov7 folder.

Step 6 — Let’s Train yolov7 on the custom dataset
- Run the following train command in the Colab Notebook.
- If everything you did till now was correct, your training will start.
python yolov7/train.py --workers 1 --device 0 --batch-size 16 --epochs 100 --img 640 640 --hyp data/hyp.scratch.custom.yaml --name yolov7-custom --weights yolov7.pt- You can change the epochs according to your need.
- Also, you can change the batch size according to your GPU. If the training gives a memory error, try reducing it.
- As we are doing our training in the Colab Environment, we get a very good GPU for free, hence we can set the batch size to 16.

Step 7 -Testing our custom Model
- Copy the “best.pt” weight file from the yolov7/runs/train/yolov7-custom/weights and paste it into the yolov7 folder.
- Now in the yolov7 folder run the following test command.
- Change the image name according to your need.
- You can also replace it with a video name if you want to run it on a Video.
python detect.py --weights best.pt --conf 0.5 --img-size 640 --source img.jpg --view-img --no-traceOutput
NOTE — If you ever need to change data in the ‘yolov7/data’ folder, make sure to delete cache files.
So in this way you can Train yolov7 on the custom dataset in the easiest way possible.
Read my last post on — Best Data Science Resources
Check out my other machine learning projects, deep learning projects, computer vision projects, NLP projects, and Flask projects at machinelearningprojects.net