Inserting a signature in MS Word allows you to add a personal or professional touch to documents by using a scanned handwritten image, drawing directly with Word’s tools, or adding a digital/electronic signature for authenticity and convenience.
Steps to Insert a Handwritten Signature in a Word Document
Follow these steps to add a handwritten signature in Word document. This method is ideal if you already have a digital copy of your signature and want to add a personal touch to your document.
Step 1: Open Your Word Document
Start by opening Microsoft Word and the document you want to add your signature to. If you don’t have one ready, create a new blank document.

Step 2: Insert a Handwritten Signature Image
If you have a scanned or photographed image of your handwritten signature, you can easily insert it into your document:
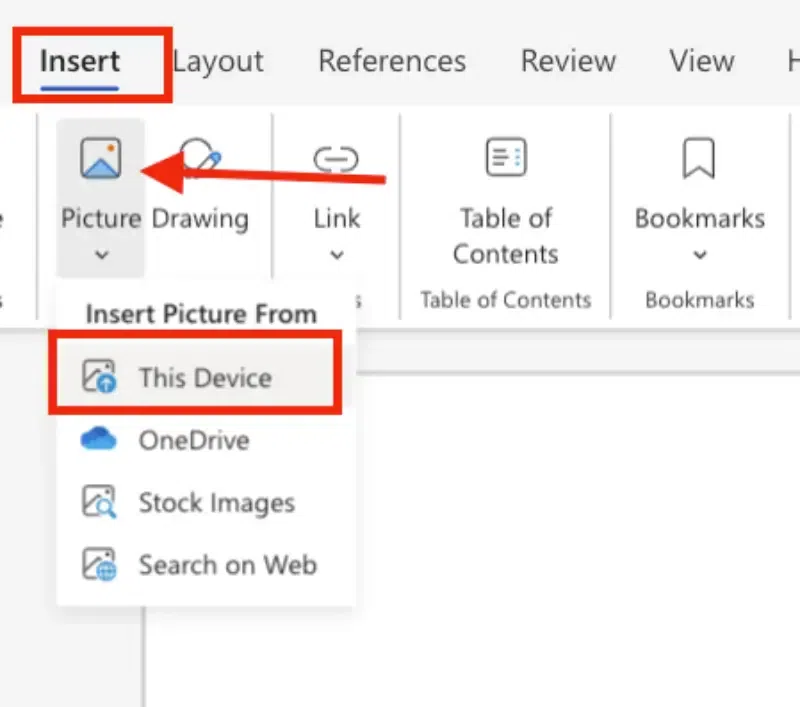
- Click the Insert tab in the top menu.
- Select Pictures, then click This Device.
- Locate the folder where your signature image is saved, select the file, and click Insert.
This method is perfect if you already have a digital copy of your signature.
Step 3: Upload Your Sign image
After clicking "This Device", you just click on the signed image and click "Open"

Step 4: Preview the Image and Resize
Once the signature image is uploaded:
- It will appear in the document editor.
- Resize and position the image by dragging its corners or moving it to the desired location.

Note : To make the signature look more natural:
- Click on the inserted image to activate the Format Picture panel.
- Go to Transparency Settings under Format Options and adjust the transparency slider until the signature blends naturally with the document.
Steps to Draw a Signature in Word
Step 1: Go to Draw features
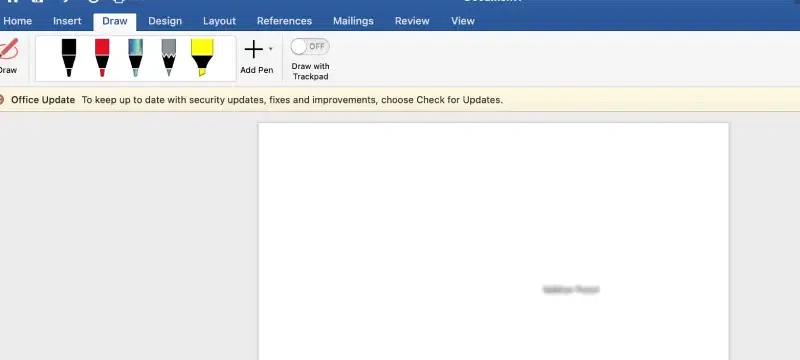
- Go to the Draw tab in the menu bar.
- Select a pen or stylus tool.
- Use your mouse, touchpad, or stylus to draw your signature directly on the document.
Adjust the pen’s thickness or color in the menu to match your preferred style.
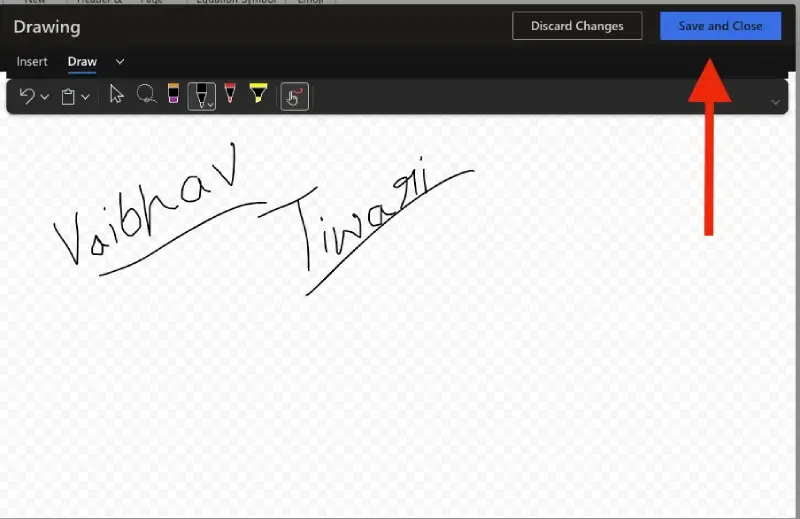
Step 2: Save the Drawing
- After completing your signature it is automatically saved in the document.
Step 3: Save Your Signature as a Reusable Quick Part
For frequent use, store your signature as a reusable element in Word:
- Select your signature by clicking on it.
- Insert → Quick Parts → Save Selection to Quick Part Gallery.
- Assign a name and click Save.
To reuse your saved signature:
- Go to the Insert tab, click Quick Parts, and select your saved signature.
Step 4: Add Typed Text to Your Signature
Enhance your signature by adding typed information like your name, title, or the date.
- Click the Insert tab and choose Text Box.
- Type your text in the box and format it with your preferred font and size.
- Drag the text box below your signature to position it correctly.
Best For: Adding extra context to professional documents or legal paperwork.
Step 5: Group Your Signature and Text (Optional)
Combine your signature and accompanying text to create a single movable element.
- Hold down the Ctrl key and click on both the signature and the text box.
- Right-click and select Group > Group.
- Now, you can move them together as one unit in your document.

Step 6: Finalize and Save Your Document
- Review the document to ensure everything is properly positioned and formatted.
- Save your file by clicking File > Save As and selecting your preferred file format.