Flyers are single-page documents designed to share information quickly and attractively. They are often used for promoting events, advertising businesses, announcing sales, or conveying important messages to a broad audience.
Features of Flyers
- Event Promotion: Advertise community events, concerts, or fundraisers.
- Business Marketing: Highlight products, services, or special offers.
- Informational: Spread awareness about causes, campaigns, or announcements.
Steps to Make a Flyer on Microsoft Word
This Microsoft Word flyer guide shows you two easy ways to make a flyer in Word:
Method 1: Using Templates
An easy way to make a flyer in Word is by using pre-designed templates. Follow these steps:
Step 1: Open Microsoft Word
Launch Microsoft Word and go to File > New.

Step 2: Search and Select a Flyer Template
In the search bar, type "Flyer" and press Enter to view available flyer templates. Browse through the templates and choose one that suits your needs. Click on it to open.

Step 3: Customize the Template
Edit the text, font, colors, and images to fit your flyer’s purpose. Replace the placeholder content with your own details.

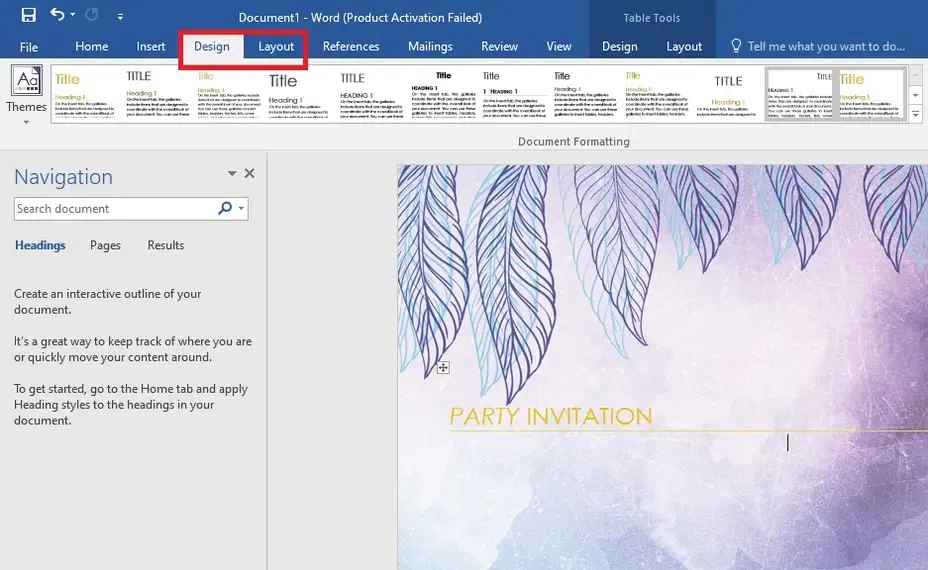
Step 4: Adjust Layout and Design
Use the Design and Layout tabs to adjust the layout, borders, and background to match your style.
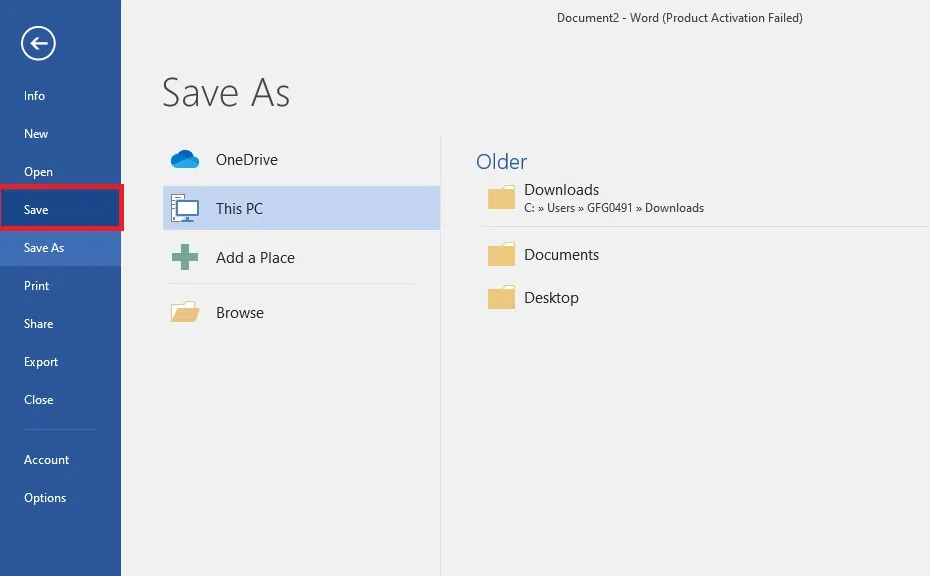
Step 5: Save and Print
Once you’re satisfied with the flyer, save it by going to File > Save As and choose your preferred format. Print your flyer via File > Print.

Method 2: Designing from Scratch
If you want full creative control, you can make a flyer in Word from scratch. Follow these steps:
Step 1: Open a Blank Document
Open Microsoft Word and start a new Blank Document.
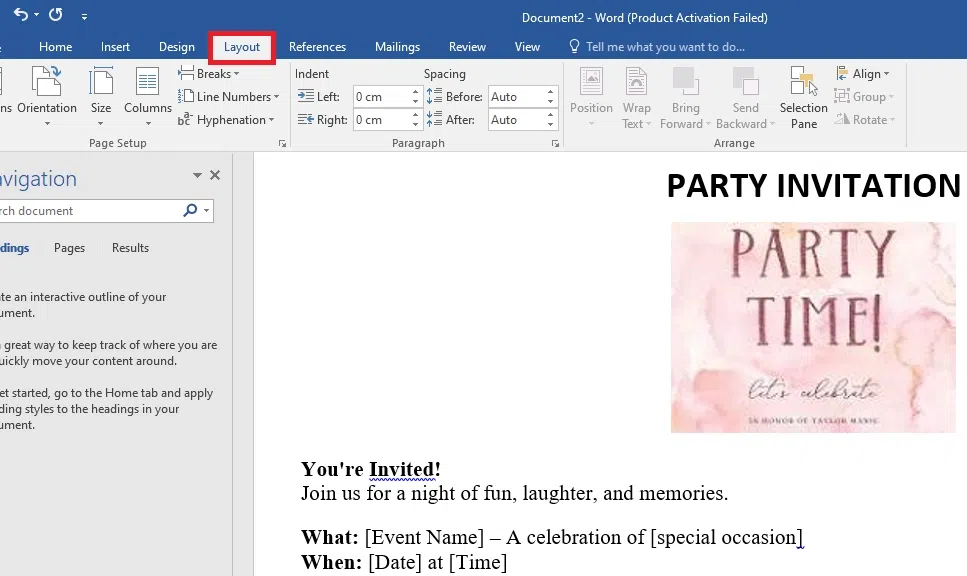
Step 2: Set Up the Page Layout
Go to Layout > Size and select your desired paper size. Adjust margins by clicking Layout > Margins.

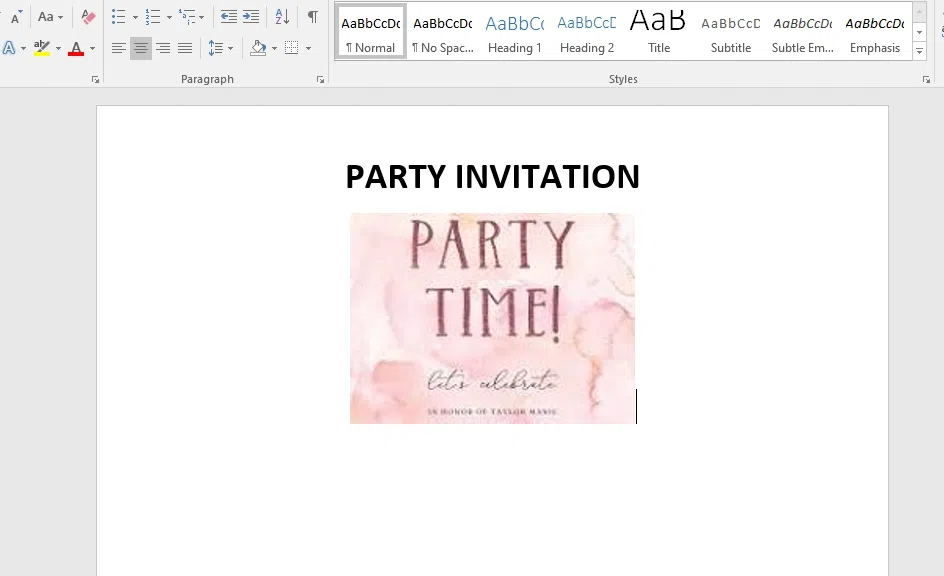
Step 3: Add a Title
At the top of the page, type a bold and clear title for your flyer. Customize the font style and size under the Home tab.

Step 4: Insert Images
Go to Insert > Pictures and select an image to insert. Resize and position it according to your layout.
Step 5: Add Text and Information
Use the Text Box tool to add additional text. Go to Insert > Text Box, and input your flyer content such as event details, contact info, etc.

Step 6: Design the Layout
Organize text and images neatly. Use Shapes under Insert to add elements like lines or boxes to enhance the design.
Step 7: Final Adjustments
Refine the layout and design by aligning and grouping elements. Adjust fonts, colors, and placement for better visual appeal.
Step 8: Save and Print
Save your document by going to File > Save As, and choose a file format. Print your flyer using File > Print.
By following these steps, you can create professional flyers that effectively communicate your message and engage your audience.