Git: The Branching Paths


Until now, we have been working on a single, straight timeline. But software engineering is rarely linear.
Imagine you are building a complex project — say, an automated, self-correcting documentation agent. Your main code is stable and working. Now, you want to experiment with adding a multi-agent orchestration pipeline. If you write this directly into your stable code and it breaks, your whole system goes down.
Branching allows you to split the timeline. You create an isolated, parallel universe of your project. In this “branch,” you can write your orchestration code, test it, and break things without ever affecting the stable, main version.
Merging is how you bring timelines back together. Once your multi-agent pipeline is perfect, you tell Git to seamlessly fuse the new code from your branch into the main timeline.
Formal Explanation & Mechanics
To master Git, you must completely discard the way you think about branches in other systems. In older systems, “branching” literally meant copying all the project files into a new directory. It was slow and bloated.
In Git, a branch is nothing more than a lightweight, movable pointer to a specific commit.
Remember the cryptographic hashes (like a1b2c3d) from Part 2? When you create a repository, Git creates a default branch pointer named main that points to your latest commit.
Git also maintains a special, ultimate pointer called HEAD. HEAD simply indicates "where you are looking right now." If HEAD points to main, your Working Directory reflects the main timeline.
- If you create a branch called
feature-orchestrator, Git just creates a tiny 41-byte text file containing the hash of your current commit. It costs essentially zero memory or processing power. - When you switch to that new branch, Git moves the
HEADpointer tofeature-orchestrator. - Now, when you make a new commit, Git creates the new snapshot, and the
feature-orchestratorpointer automatically moves forward to point to this new commit. Themainpointer stays exactly where it was.
Concrete Examples & Code
Let’s walk through the exact lifecycle of branching and merging.
Step 1: Check your current state
git branch
# Output: * main
# The asterisk (*) means HEAD is pointing here.
Step 2: Create and switch to a new branch
We want to build our new feature. We use git switch with the -c (create) flag.
git switch -c feature-orchestrator # c for create, does in 1 step instead of
# create and then switch
# Output: Switched to a new branch 'feature-orchestrator'

git branch
# Output:
#   main
# * feature-orchestrator
Mechanics Note: Behind the scenes, our Working Directory files haven’t changed at all yet. Git just moved the HEAD pointer.
Step 3: Make changes in the parallel universe
Let’s create a new file and commit it.
echo 'def orchestrate_agents(): pass' > pipeline.py
git add pipeline.py
git commit -m "Add base agent orchestration logic"
Now, feature-orchestrator has moved forward. main does not have pipeline.py.
Step 4: Switch back to the main timeline
git switch main
# Output: Switched to branch 'main'
Magic Moment: If we look at our files in the editor or run ls, pipeline.py is gone. Git physically removed it from the Working Directory to accurately reflect the state of the main branch. It is safely stored in the .git database, waiting for you to switch back.
Get Mohammed Faham’s stories in your inbox
Join Medium for free to get updates from this writer.
Step 5: Merge the branch into main We want pipeline.py in our stable code. To merge, you must first be on the branch you want to merge into (which we are, main).
git merge feature-orchestrator
# Output:
# Updating a1b2c3d..f9e8d7c
# Fast-forward
#  pipeline.py | 1 +
#  1 file changed, 1 insertion(+)
#  create mode 100644 pipeline.py
Mechanics Note: Git did a “Fast-forward” merge. Because main hadn't moved since we branched off, Git didn't need to do any complex math to combine files. It simply slid the main pointer fast-forward to point to the exact same commit as feature-orchestrator.
Step 6: Clean up Since main and feature-orchestrator now point to the same commit, the feature branch is redundant.
git branch -d feature-orchestrator #-d for delete
# Output: Deleted branch feature-orchestrator (was f9e8d7c).
Common Misconceptions & Pitfalls
Misconception: Uncommitted work stays on the branch. If you make changes in your Working Directory, DO NOT commit them, and then try to switch branches, Git will usually carry those uncommitted changes over to the new branch.
The Rule: The Working Directory and Staging Area are shared across branches until you commit. If your uncommitted changes conflict with the branch you are trying to switch to, Git will abort the switch and throw an error. Always commit (or stash, which we cover later) before switching branches.
Hands-Off Approach
Level 1: The Fast-Forward
- Ensure you are on
main(git switch main). - Create a branch called
docs-updateand switch to it. - Modify a text file and commit the change.
- Switch back to
main. - Merge
docs-updateintomain. - Delete the
docs-updatebranch.
Level 2: The Divergent Merge
- Switch to a new branch
experiment. Add a filetest1.txt, commit it. - Switch back to
main. - Crucial step: Add a DIFFERENT file
test2.txttomain, and commit it. - Now, run
git merge experiment. Notice what happens: Git cannot "Fast-forward" because the timelines have diverged. It will force you to create a new "Merge Commit" that ties both timelines together. This opens your default terminal text editor to write a commit message. Save and exit (if it's Vim, type:wqand press Enter).
View my attempt here(only after trying it out first)
6. Sources & Recommended Resources
- Source: Chacon, S., & Straub, B. (2014). Pro Git. (Chapter 3.1 & 3.2: Git Branching). git-scm.com/book/en/v2/Git-Branching-Branches-in-a-Nutshell
- Resource: Visualizing Git Concepts: git-school.github.io/visualizing-git/ — Type branch and merge commands here to physically watch the pointers move. It is unparalleled for building a mental model.
What’s Next?
We have mastered the local environment. We can branch, commit, and merge in isolation.
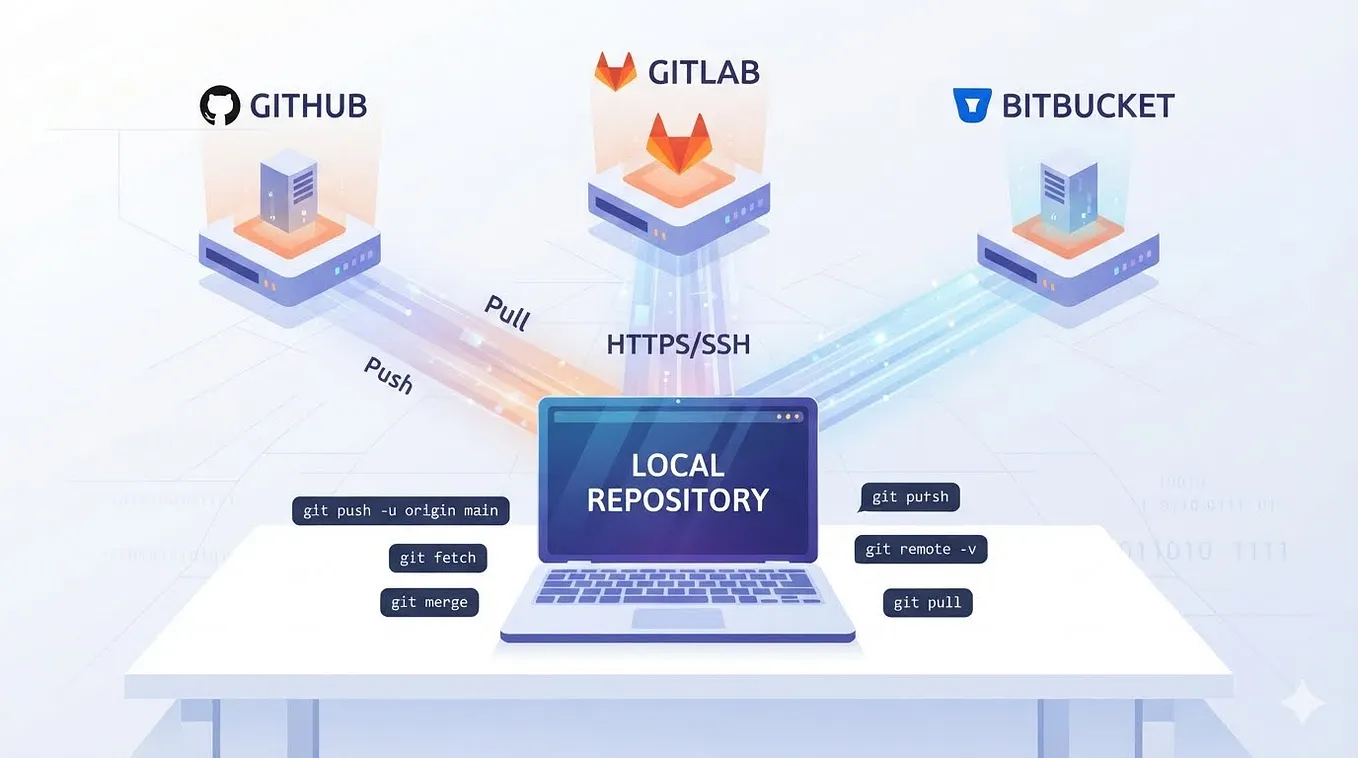
Next up: We will look at Part 5: Remote Repositories. This is where we break out of our local machine and connect to GitHub/GitLab to collaborate, pulling and pushing code across the internet (clone, remote, push, pull, fetch).
So long!