Financial Analysis Hub

When I read about the Financial Analysis Hub in the Cloud Applications Readiness page for 26.8 updates, it immediately caught my attention. I decided to test it once the patch was applied on the first Friday, i.e. 7th Aug.
The patch was applied, I tested the feature, and my first reaction was — this is amazing stuff!
So, I thought of documenting my experience.
Financial Analysis Hub provides built-in analytic capabilities that allow users to perform meaningful analysis on different aspects without going through the tough stuff.
Once the feature is available, you will notice a new cluster on the Home Page.

Please note: Financial Analysis Hub is only available for DSO applications.
There are three main components:
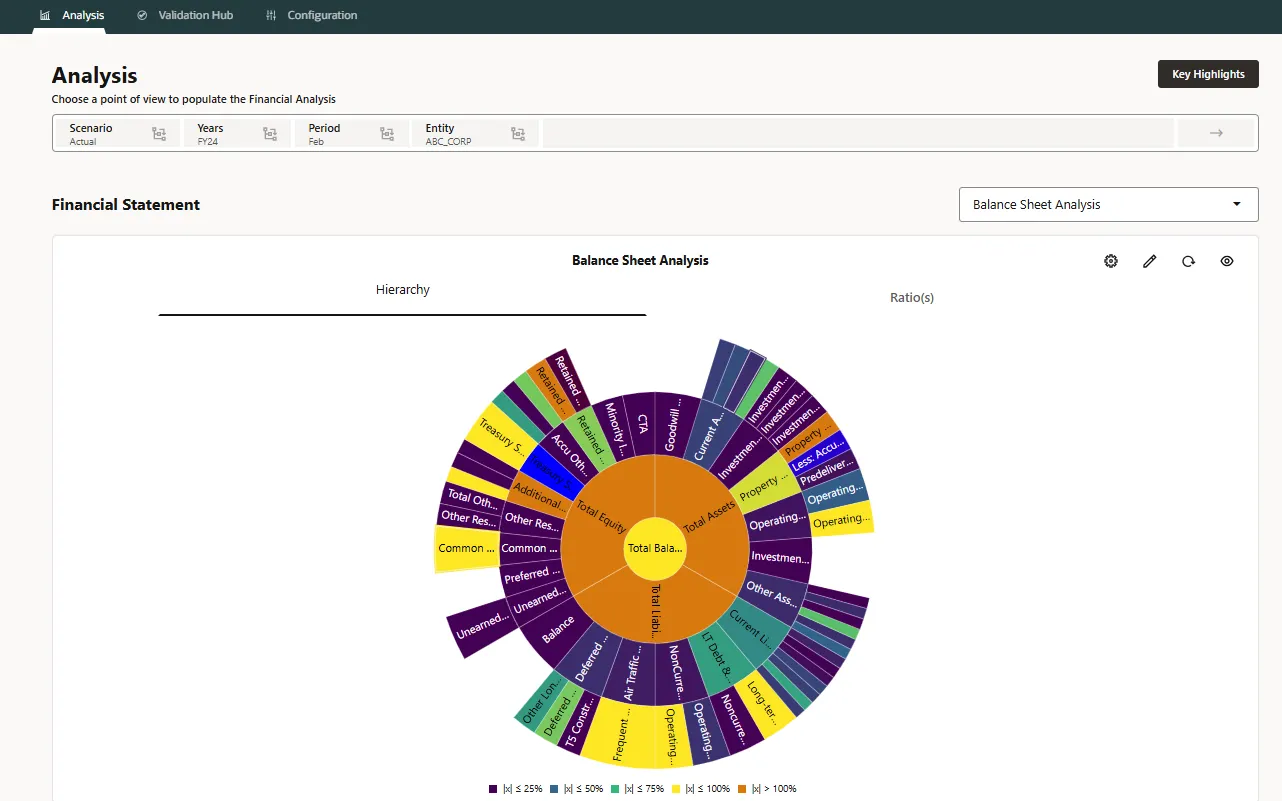
Analysis — This is the centralized workspace for reviewing data. You can select the required POV, run predefined analyses, review variances and trends, and drill into supporting details.
Validation Hub — This provides a centralized page for reviewing validation results.
Configuration — This is where the different Analysis types are created. This is the starting point for setting up the analysis. You can use the out-of-the-box options or customize the selections based on specific business requirements.
Creating a Configuration
To create a configuration, click Create. The configuration process involves multiple steps.

I tried two of the available Analysis types — Validation and Financial Statement.
Let’s start with a simple Out of Balance Validation.
Step 1:
Provide the name and Description, select Validation as Analysis Type and Out of Balance as Validation Type. Click Next.

If you want to create a validation using Custom Expression, select Custom Expression under Validation Type.
Step 2:
Set the POV for Entity, Scenario, Period and Year, & choose the required Activity Trigger.

There are four Activity Triggers available.
Manual — The configuration can be run manually at any time.
Get Aparna’s stories in your inbox
Join Medium for free to get updates from this writer.
Consolidation — If this is selected and the status of entities is Impacted, the validation will be generated after running the Consolidate rule for the configured POV.
Translation — If this is selected and the status of entities is Impacted, the validation will be generated after running the Translate rule for the configured POV.
Data Load/Delete (via DM, Forms, Smart View, or Journals) — If this is selected, the configuration will be generated for the specified POV with the Data Load or Data Delete process through Data Management, Smart View, Forms, or Journals.
Click Next.
Step 3:
Step 3 provides several options, including Expression Details, Accounts, Fixed Dimensions, Consolidation, and Currency.

Under Expression Details, there are two options — Through Expression Builder and Through AI Models.
Please note — the AI Model option is currently disabled. We can assume this will be available in a future update.

The other sections are automatically populated. However, users can select different dimension members and options based on their requirements.
If you selected Custom Expression as the Validation Type, you can edit the Expression using Expression Builder in Step 3. You need to provide a valid intersection for all dimensions. In this case, the additional options to select Accounts, Fixed Dimensions, etc. are not available.


Once the configuration is complete, click Save and Run. The Run Configuration window appears. This looks very similar to the Consolidation Run window. Select the required members and click Run.

The Run status can be viewed in the Jobs page.
Viewing the Validation Results
Now let’s see where we can view the results. Click on Validation Hub.

Select the required POV and click on the arrow.


Under Actions, click View, and you can view the validation result.

This was my first pass at the Financial Analysis Hub, starting with the Validation option and working through the full flow — creating the configuration, running it, and reviewing the results. I will cover the Financial Statement in the next blog. There’s clearly more to explore, particularly the other analysis types like Ratio and Detailed Analysis. I’ll cover those as I continue digging into this feature.
Happy Learning, and thanks for reading!