Excel Macros are a feature that allow users to automate repetitive tasks by recording a sequence of actions and running them whenever needed. A macro captures the steps performed in Excel and saves them so the same process can be executed multiple times with a single command. Macros are created using Visual Basic for Applications (VBA) and are commonly used to simplify data manipulation, formatting, and reporting tasks, making work in Excel faster and more efficient.
How to Create Macros?
This can be divided in two ways as follows:
1. How to Record a Macro
Tip: While recording a Macro the user should be careful because a macro records everything even what went wrong and you have corrected it, so it is advisable to practice the task you want to perform once or twice before recording it.
Recording a Macro is a method that allows you to store the tasks performed by you. To Record a Macro the Developer tab on the Ribbon needs to be activated. The Developer tab contains all the Macro tools among the various other features.
2. How to Run a Macro
You can easily run a macro, once you have recorded and saved it into a workbook.
After recording a macro one needs to Run a macro to make use of it. Users can run a macro using the Macro command on the developer tab that is present on the Ribbon. To Run aMacro user can press a combination of shortcut keys, By clicking a button on the Quick Access toolbar or in a custom group in the ribbon.
How to Record a Macro in Excel?
Step 1: Open a new Excel Workbook.
Step 2: Turn on the Developer Tab on the ribbon (The Developer tab is by default hidden).
To personalize the ribbon, do the following, Anywhere on the ribbon, use the right mouse button to choose (by clicking) Customize the ribbon.

Step 3: Place a check in the Developer checkbox by selecting Customize the ribbon from the menu. Click "OK".
Step 4: The developer tab has been added to the ribbon. To configure a macro, on the Developer tab, go to Code group and click Record Macro.
.png)
Step 5: You'll see the Record Macro dialogue box.
Give your macro a name and specify the shortcut that will run it. Click "OK."
Things to remember
The macro name should start with a letter and contain no space, symbol, or punctuation marks.
- Shortcut key(optional): The shortcut key must be unique, for example, it shouldn't be ctrl+v which is for paste
- Description: This is useful for you and the user for understanding the purpose of the macro.

Note: Every step you perform from now on will be recorded by the macro. For Example, We added some sample data in Book 1.
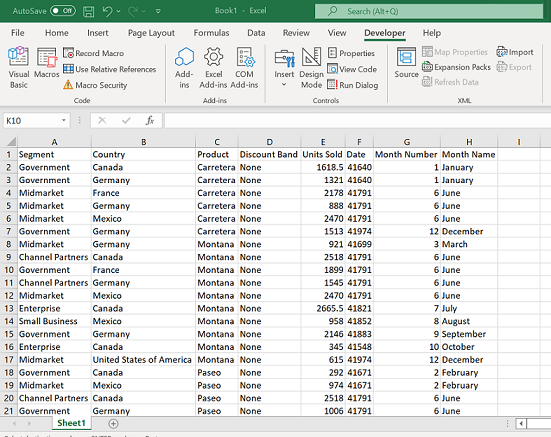
Let’s now change the header's format and add some colors.

Step 5: Once you are done, go to the developer tab and click stop recording. The macro has recorded the steps.
How to Run a Macro in Excel?
You can now perform the same steps by running the macro.
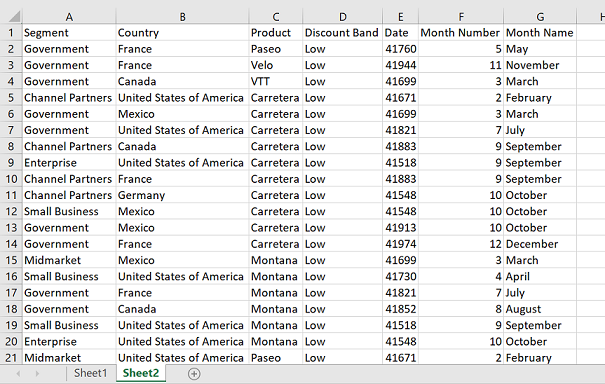
Step 1: Open a new sheet (or wherever you want to run a macro) in Excel, and add the data.
Note: To see the recorded macro, Click on Macros in the Developer ribbon:

Step 2: Select the name of Macro. Click Run.

You could see the changes recorded in Macro are applied in the sheet.
